Power BI Integration
You can use various methods to establish a connection between Cinchy and Power BI, such as using Basic Auth, Personal Access Tokens, or Bearer Tokens.
Review each section below for further details.
Prerequisites
Power BI connects to queries within Cinchy, so before you use any of the connection methods below you will need to create one that represents your dataset. Once created, you will need to copy down the REST API URL endpoint, located as a green button on the right-hand side of the Execute Query screen.
The structure of the URL endpoint is <your Cinchy instance URL>/API/<the name of your query>. You might optionally have querystring parameters at the end as well.
For example: http://your.cinchy.instance.domain/API/YourQueryDomain/API Test
Note that for Basic Authentication with a result format of CSV we will use a slightly different URL endpoint.\
For Basic Auth: /API/ becomes /BasicAuthAPI/\
For CSV results you will add the querystring parameter of ResultFormat=CSV
Our example URL of a basic auth using CSV results would then become: http://your.cinchy.instance.domain/BasicAuthAPI/YourQueryDomain/API Test?ResultFormat=CSV
Use basic auth
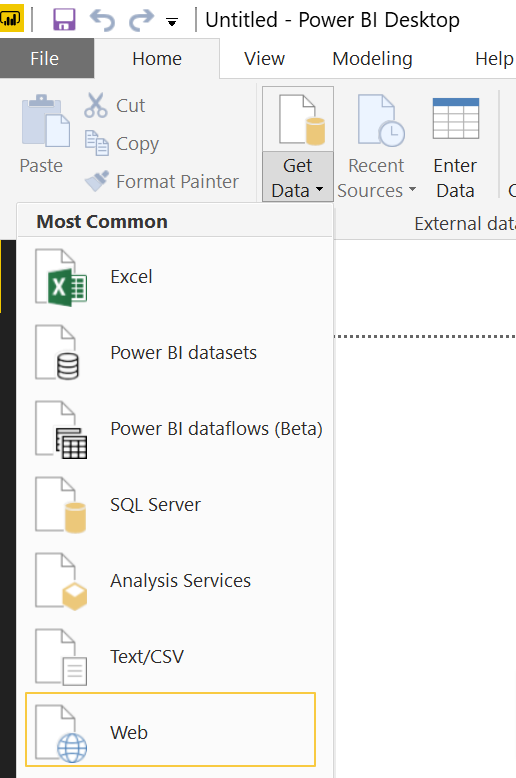
- Launch Power BI and navigate Get Data > Web.
- In the window that launches, you will enter the below text, using your own URL endpoint where highlighted:
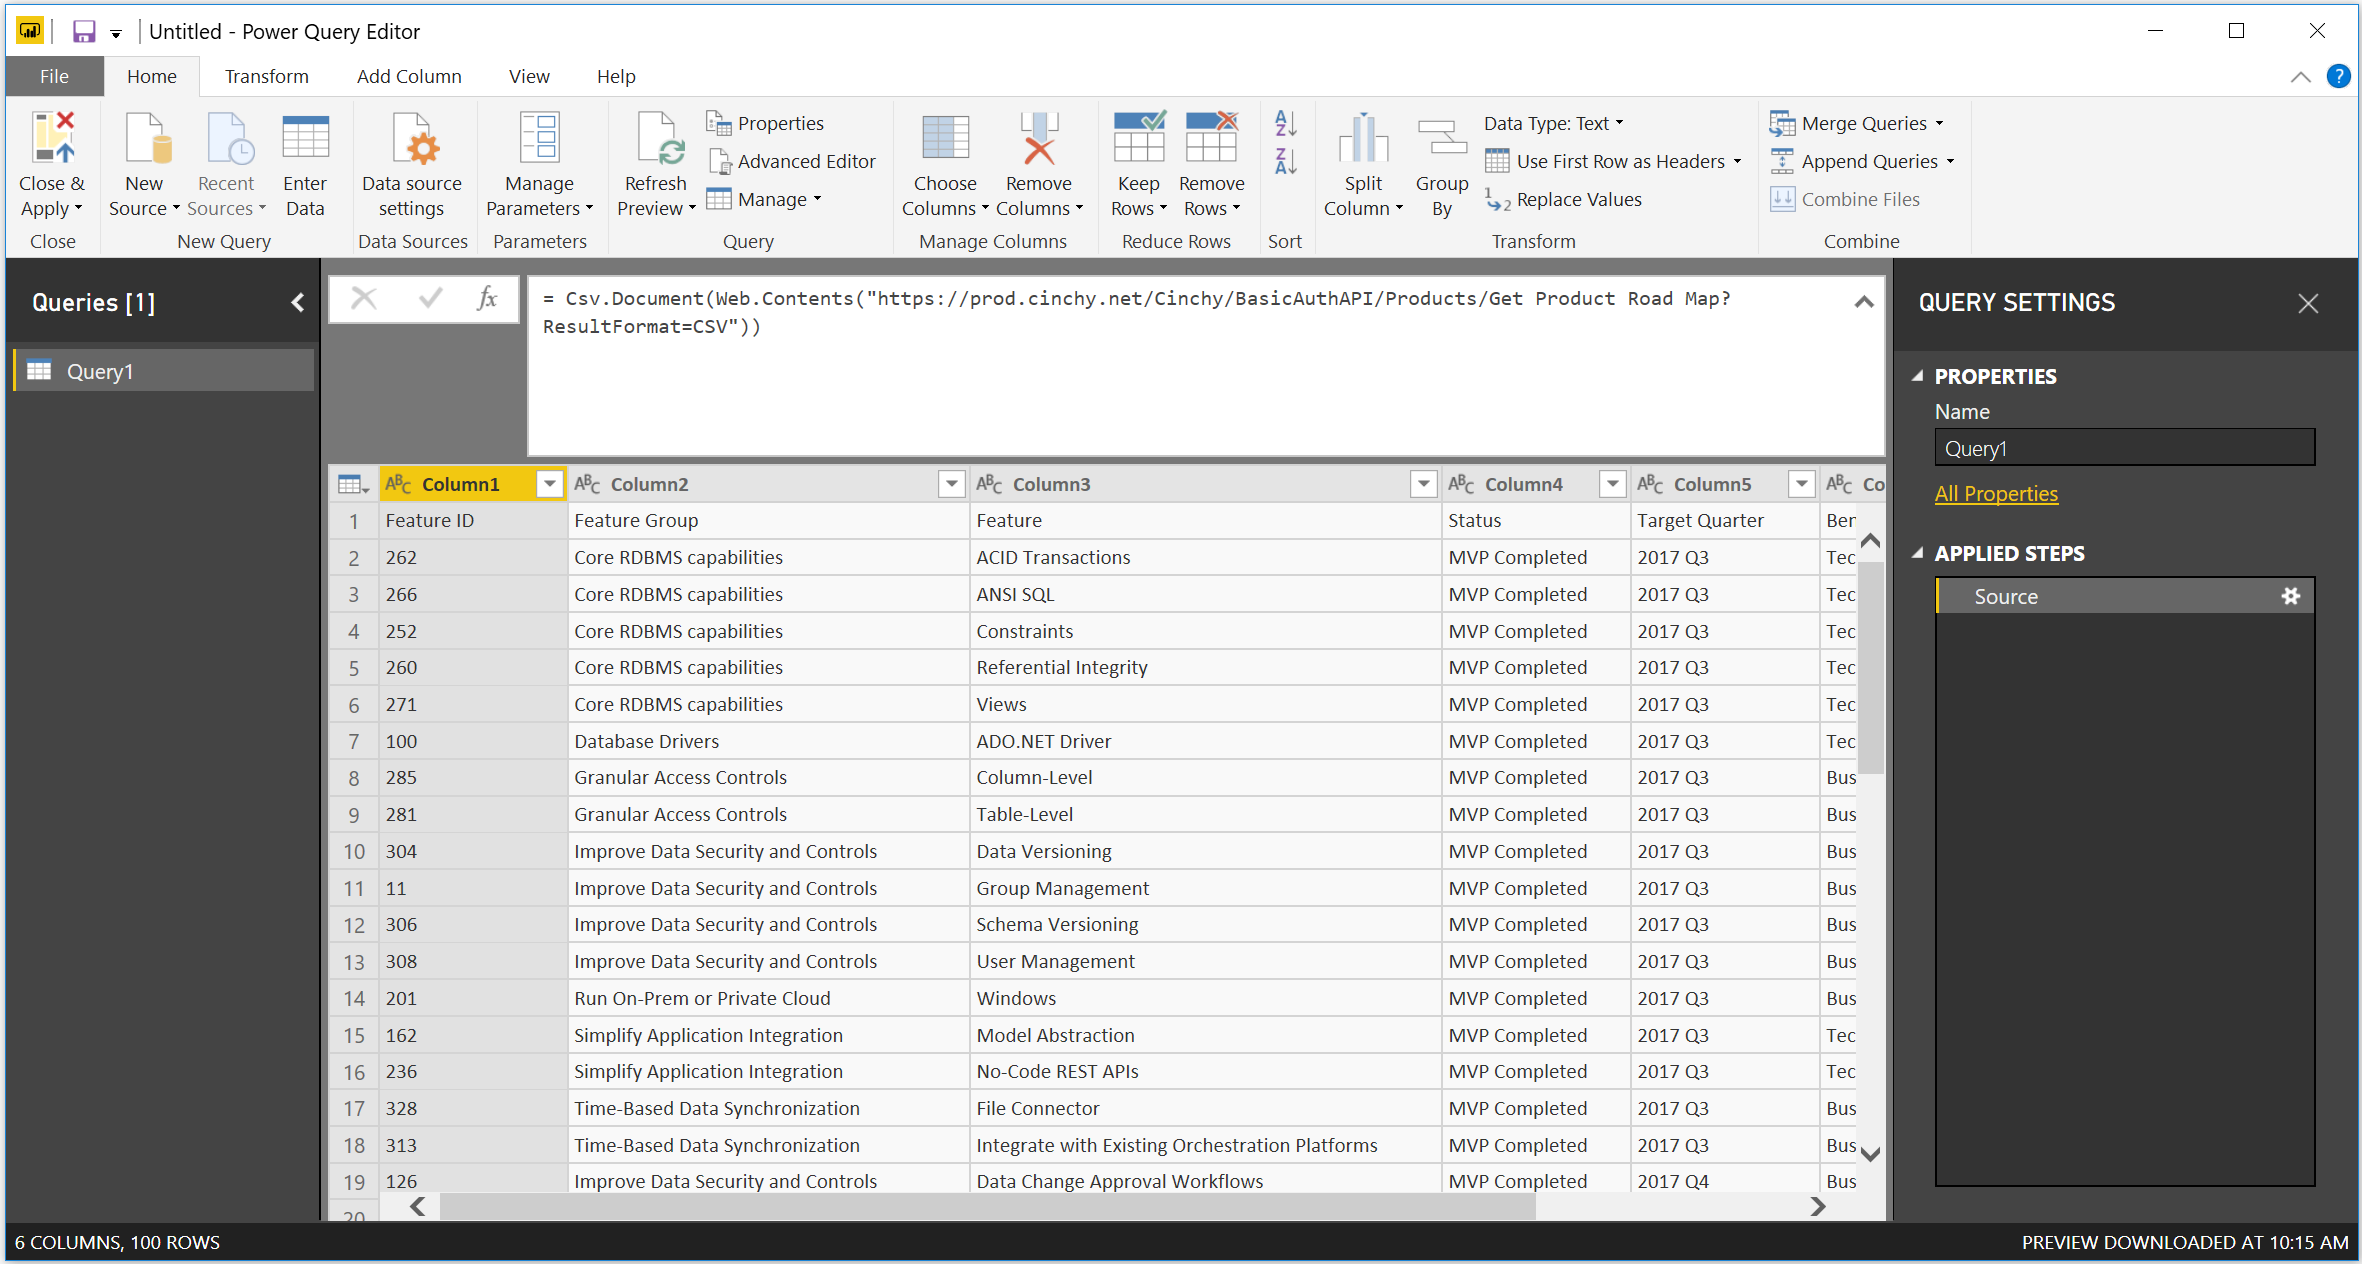
=Csv.Document(Web.Contents(``"http://your.cinchy.instance.domain/BasicAuthAPI/YourQueryDomain/API Test?ResultFormat=CSV"``))
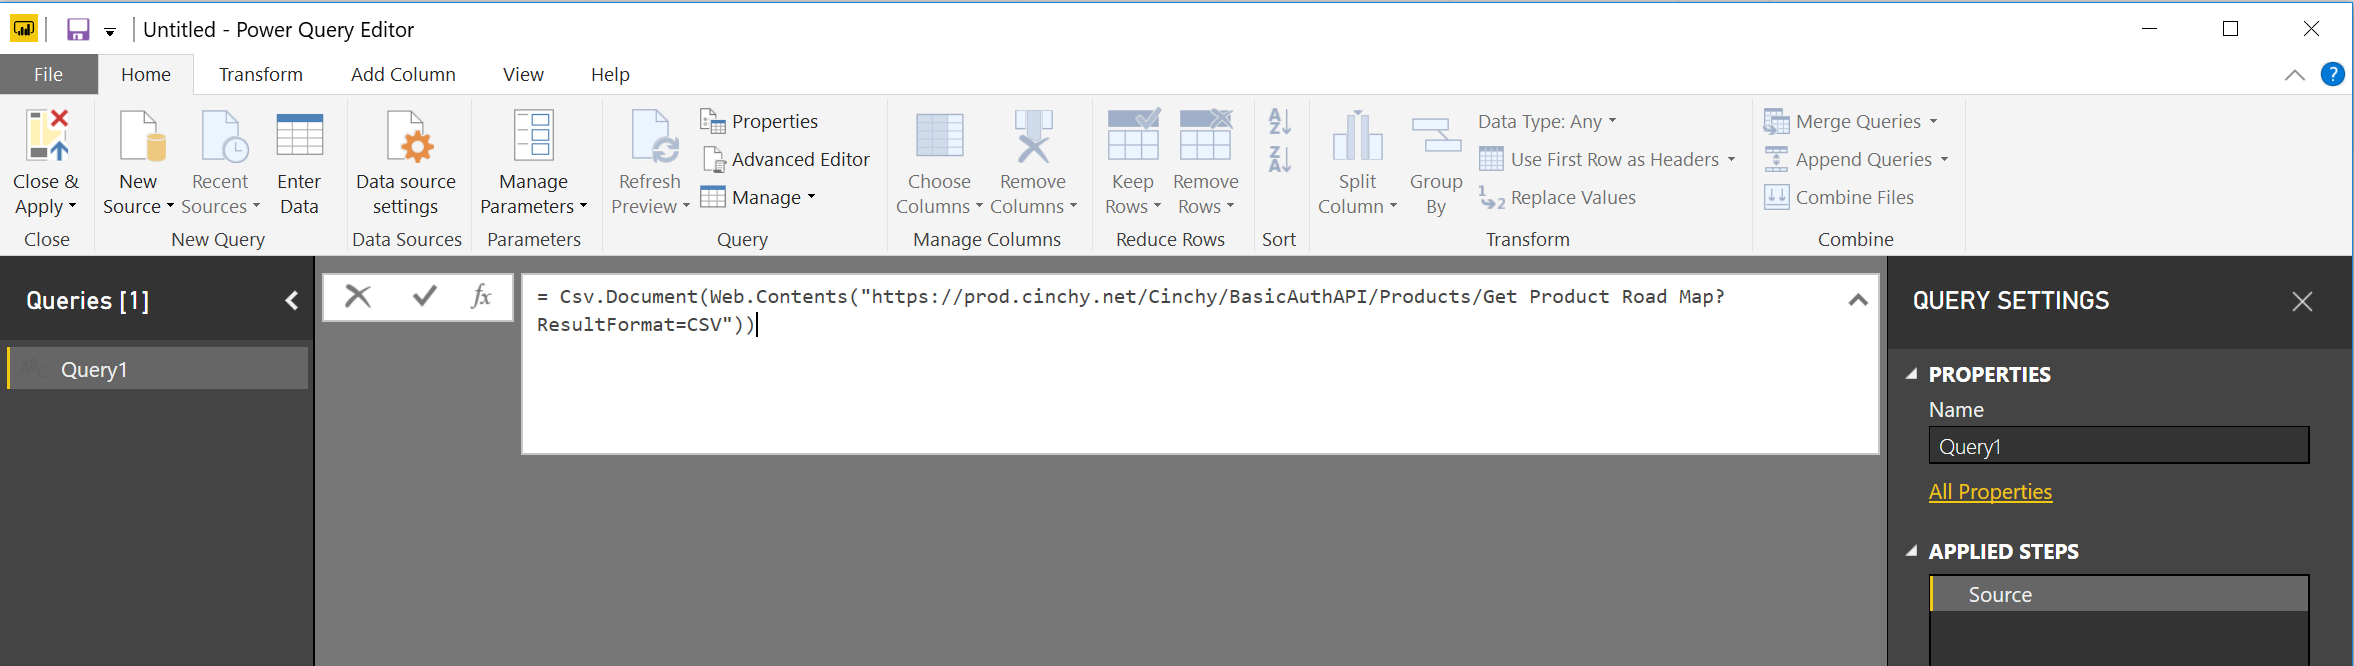
- Click on the checkmark icon and Power BI will automatically attempt to run the expression.
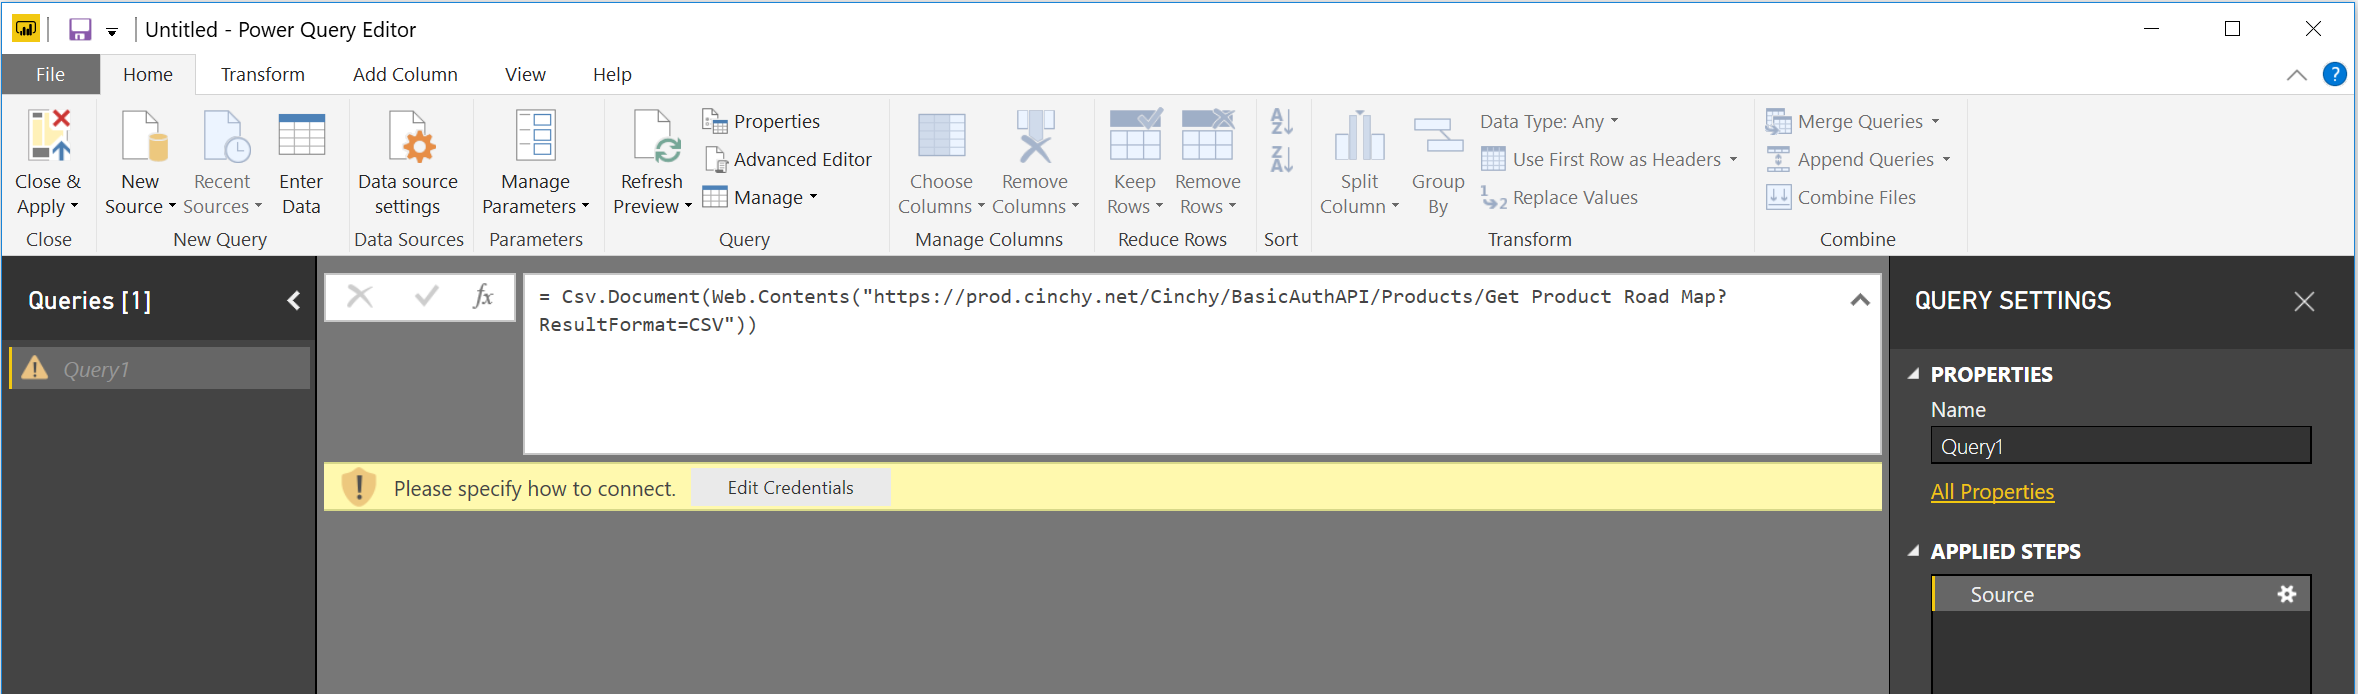
- Select Edit Credentials > Basic. Enter the credentials for a Cinchy User Account that has access to run this query and select the level at which to apply these settings. By default it's the root URL.
This process of entering your credentials won't occur with each query, it's just the first time and then they're saved locally.
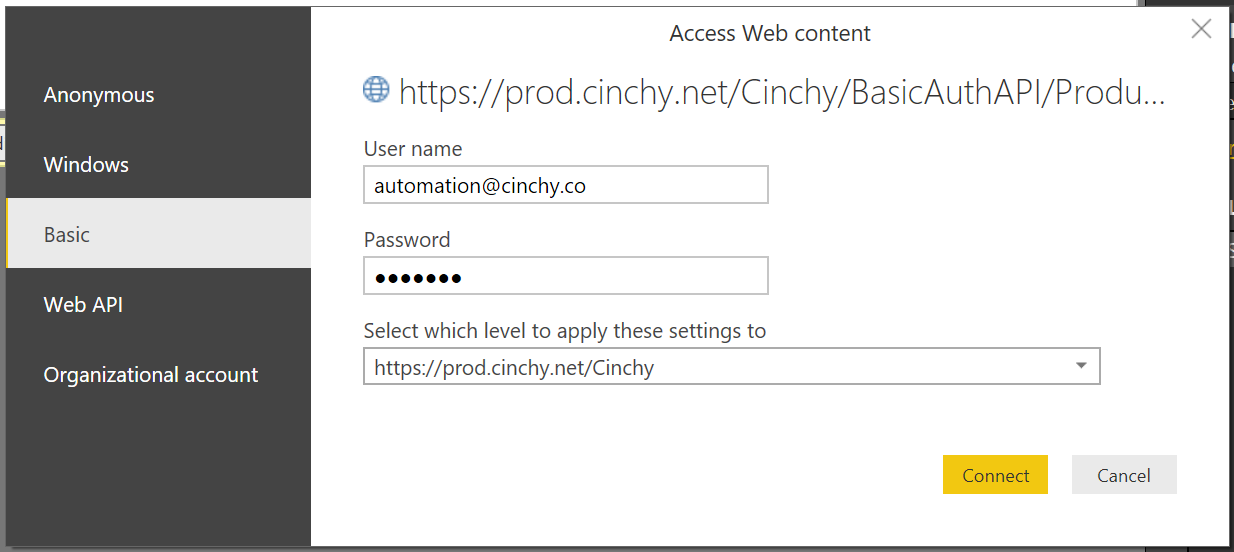
- Select Connect to see your data.
- You can now apply any transformations to the dataset.
In this example we also changed the name from Query1 to Product Roadmap and have edited to use the first row as a header.
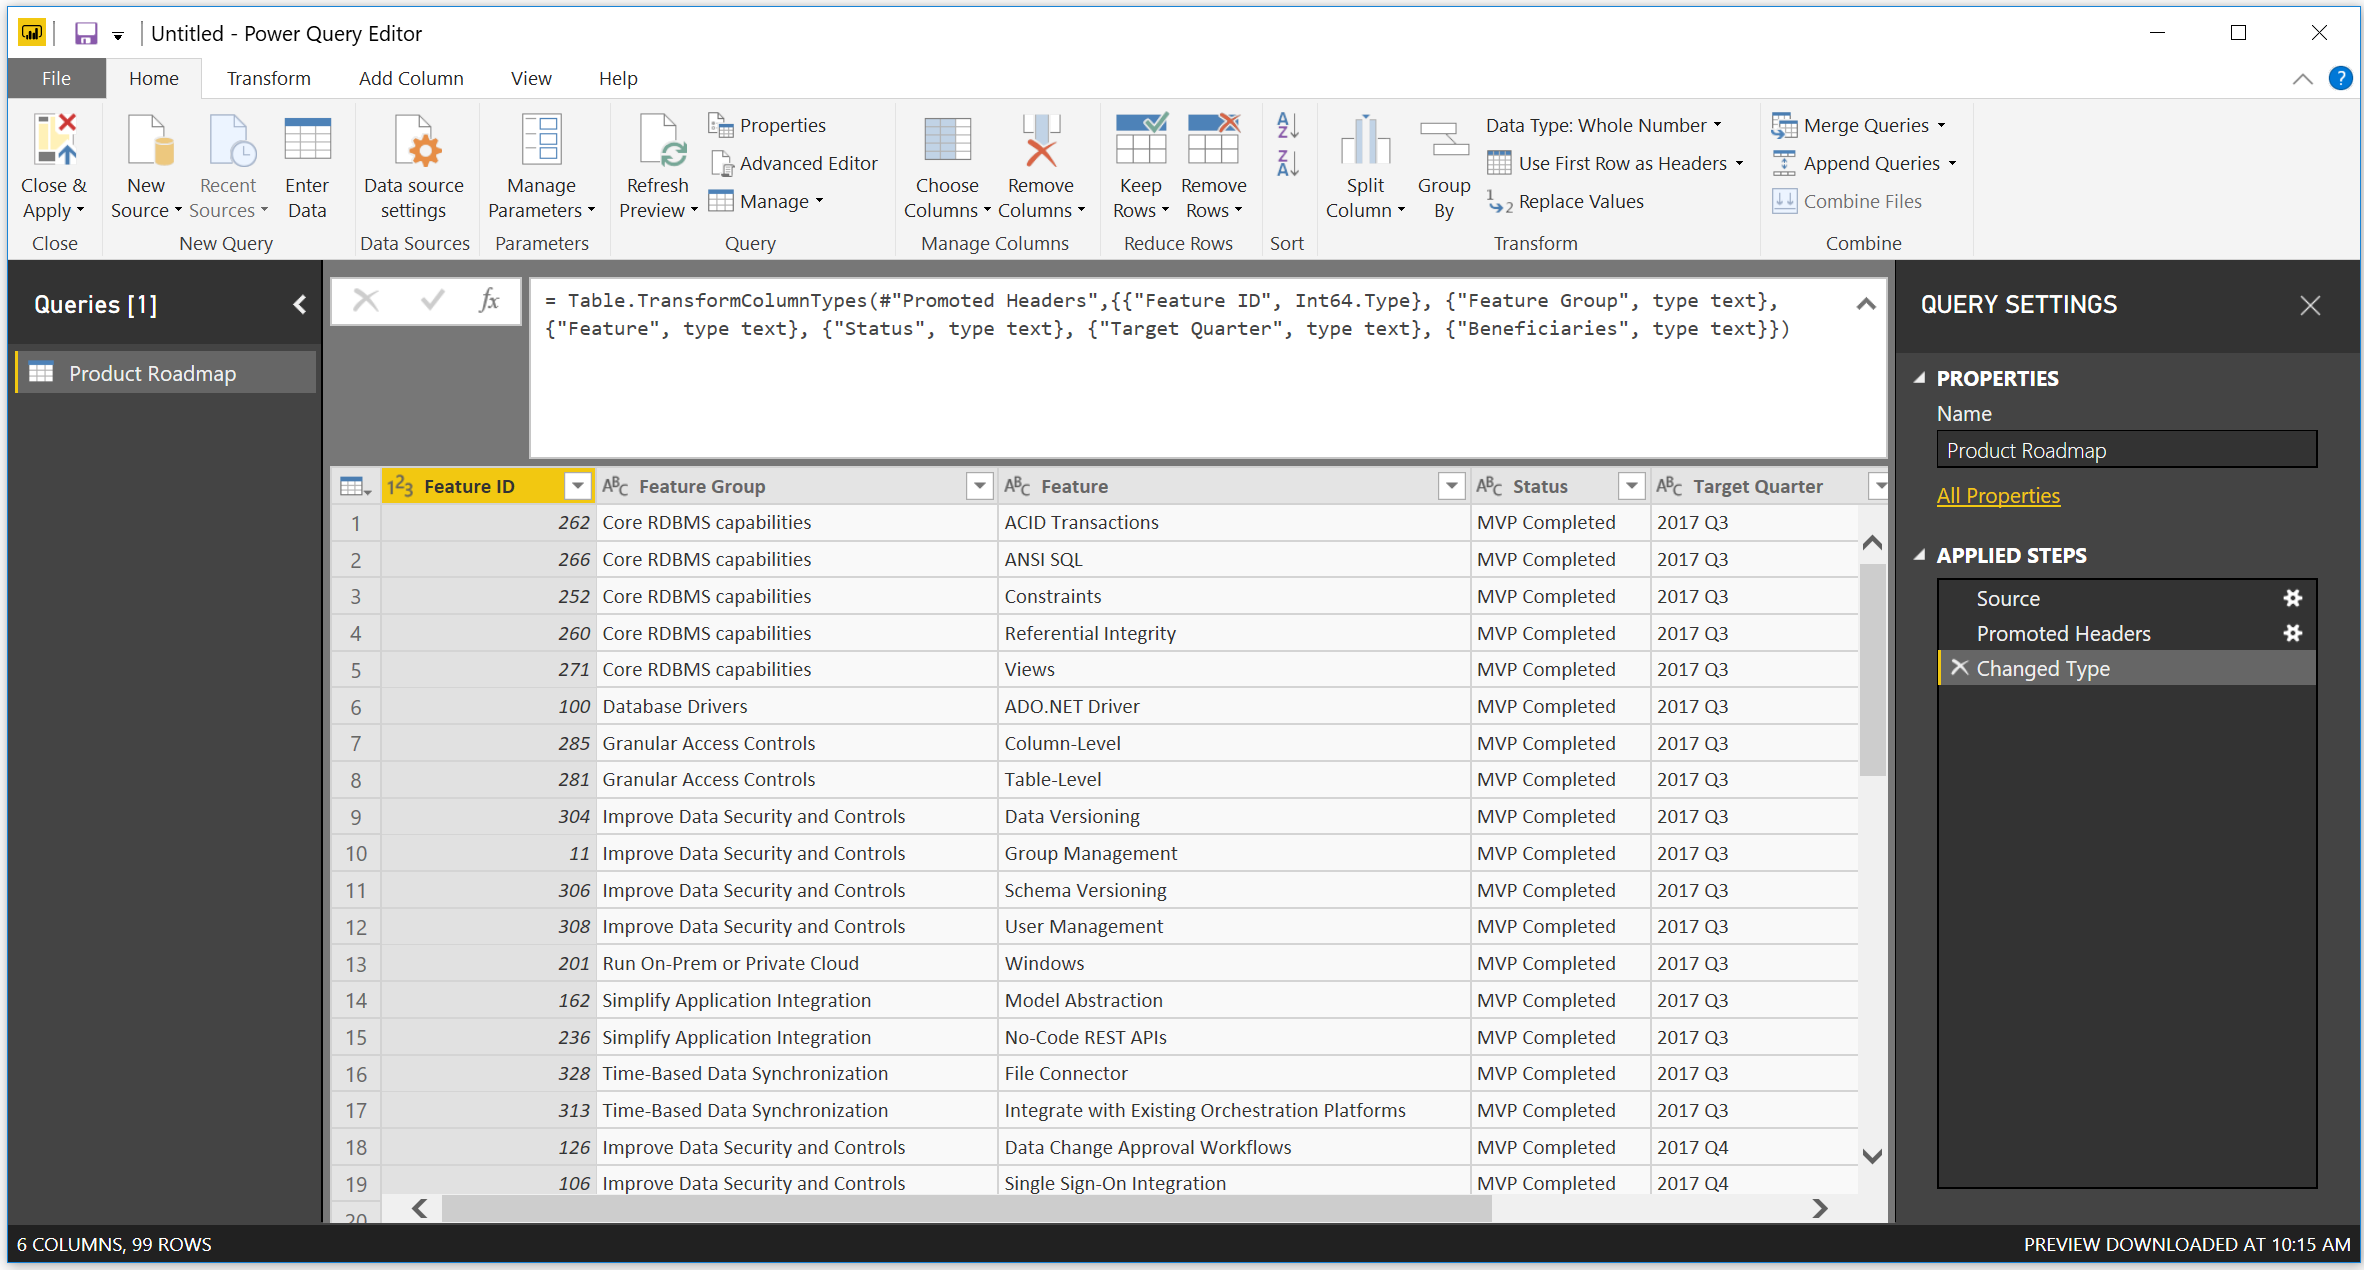
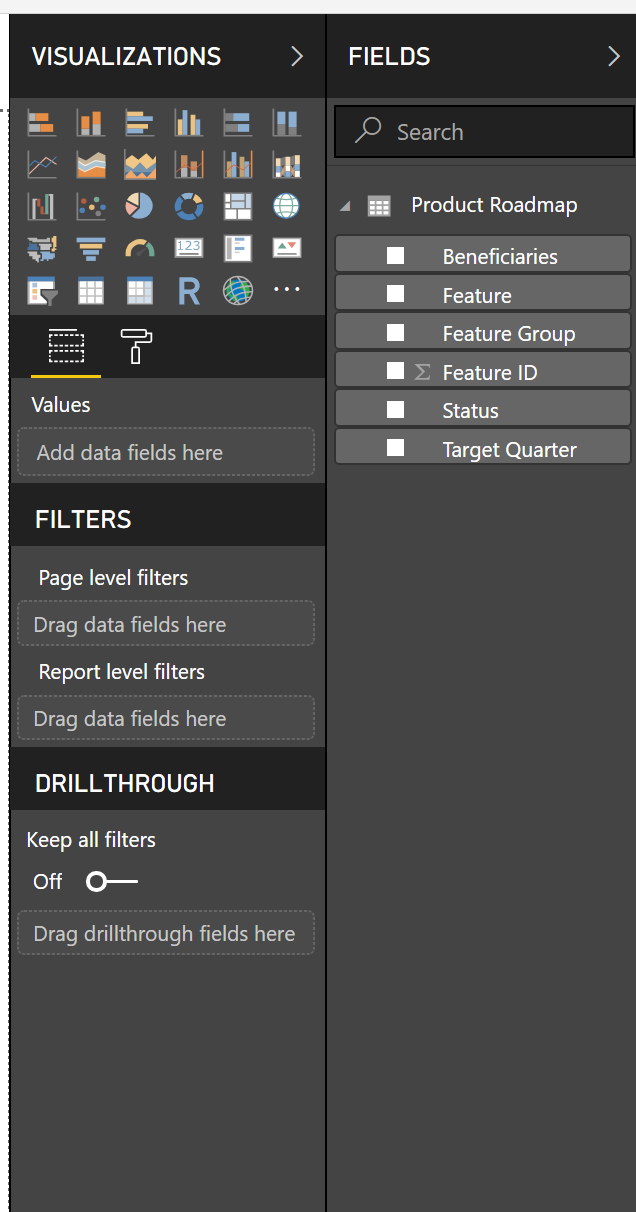
- Select Close & Apply. The metadata now shows up on the right hand side and you can begin to use it to create your visualizations.
Use a Personal Access Token
- If needed, follow the documentation here to generate a new Personal Access Token (PAT).
- Launch Power BI and navigate to Get Data > Web.
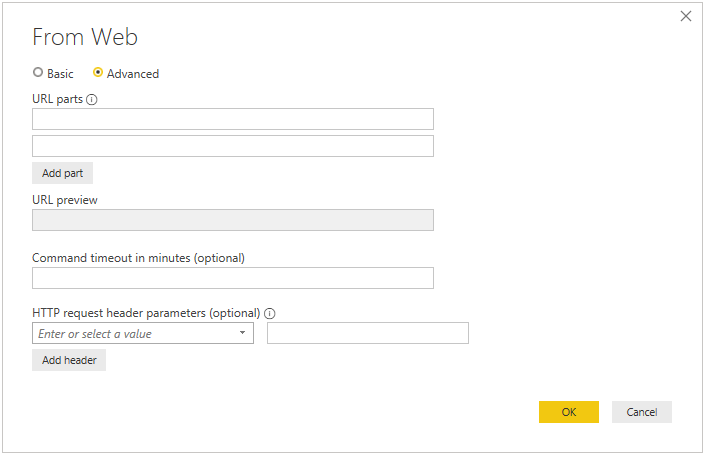
- Select Advanced and input the following values (Image 14):
- URL Parts: This is the Query API URL that you created in the Prerequisites section.
- HTTP Request Header Parameters:
- In the first text box input Authorization
- In the second text box type Bearer + your PAT. For example: "Bearer BGFHFHOJDF76DFDFD777"
- Select OK.
- Select Load to use the query data in Power BI.
- You can now apply any transformations to the dataset.
In this example we also changed the name from Query1 to Product Roadmap and have edited to use the first row as a header (Image 15).
- Select Close & Apply. The metadata now shows up on the right hand side and you can begin to use it to create your visualizations (Image 16).
Use a Bearer Token
-
If needed, follow the documentation here to generate a Bearer Token.
-
Launch Power BI and navigate to Get Data > Web.
-
Select Advanced and input the following values (Image 17):
- URL Parts: This is the Query API URL that you created in the Prerequisites section.
- HTTP Request Header Parameters:
- In the first text box input Authorization
- In the second text box type Bearer + your token. For example: "Bearer eyUzI1NiIsImtpZCI6IkE4M0UwQTFEQTY1MzE0NkZENUQxOTFDMzRDNTQ0RDJDODYyMzMzMzkiLCJ0eXAiO"
-
Select OK.
-
Select Load to use the query data in Power BI.