Creating tables
Overview
Tables are the foundational building blocks in which all Cinchy data is stored. A table is made up of at least one column, which can contain any number of data rows needed for your use case.
Builders are able to create tables two ways:
- From Scratch
- From a CSV Import (For example, liberating your data from a local Excel spreadsheet)
Create a table from scratch
You can create a table from scratch using the Cinchy UI.
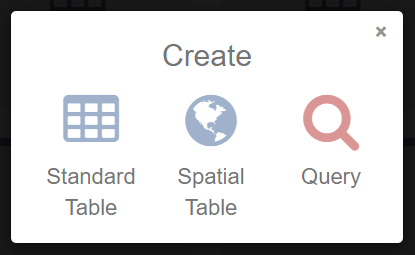
- Navigate to the Cinchy homepage. In the upper left-hand corner, click on Create to get started.

- Select either a Standard or a Spatial Table.
- Spatial Table: A spatial table allows you to create geography and geometry column types, as well as geospatial indexes. You won't be able to create partitions on a spatial table.
- Standard Table: You can't create geography or geometry columns in a standard table.
You can't convert from one type of table to another. If you start with a standard table and want to include geospatial columns at a later date, you will either have to recreate the table or link to a spatial table.
Any existing tables created prior to v4.19.0 are standard tables.
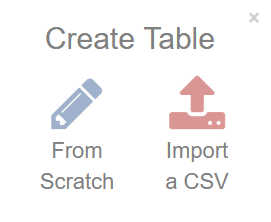
- Select From Scratch.
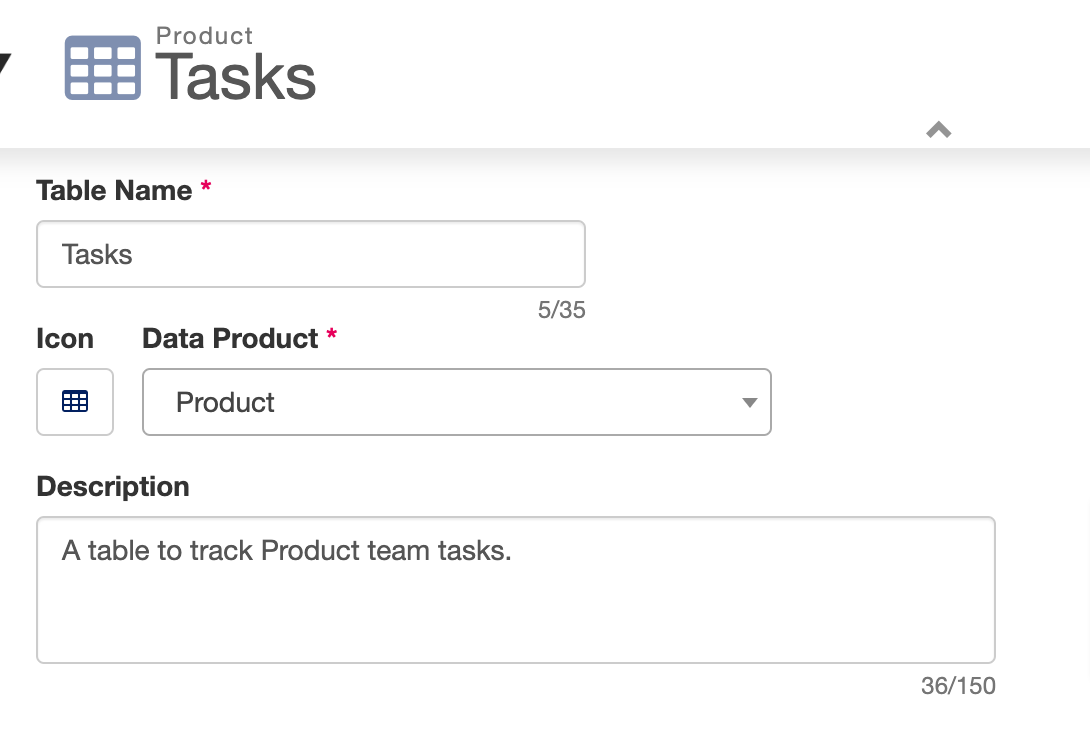
- A new page will open with the Table Info tab. Input the following:
| Name | Description | Example |
|---|---|---|
| Table Name | Mandatory. A name for your table. This must be unique to the domain that you select. | Tasks |
| Icon | You can pick an icon and colour to differentiate your table on the home screen. | |
| Domain | Mandatory. Select the domain that this table will reside under. If you are have administrative privileges, you can also create new domains from this screen. | Product |
| Description | You can give your table a description. This will be displayed on the Cinchy homepage. | A table to track Product team tasks. |
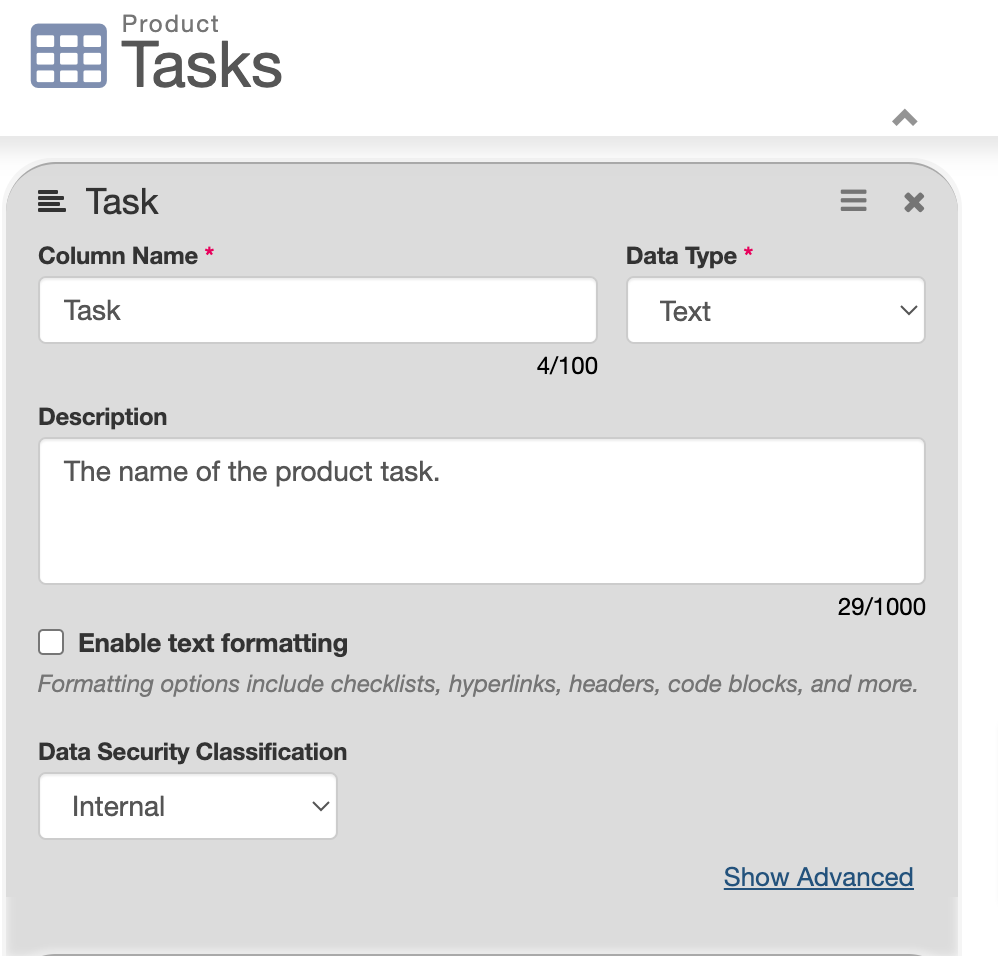
- Select the Columns tab from the left-hand navigation bar and input the following:
| Name | Description | Example |
|---|---|---|
| Column Name | Mandatory. A name for your table. This must be unique to the table. | Task |
| Data Type | Mandatory. Each column on a table is associated with a specific data type, as related to the content of the column. You can review the full list of column data types here. | Text |
| Description | You can give your column a description. | The name of the product task. |
| Data Security Classification | An optional parameter that lets you set a security level of the column's contents. You can review the full list of classifications here. | Internal |
| Enable Text Formatting | Checking this box will enable rich text editing for use in Cinchy Forms. | |
| Advanced Settings | Additional column settings can be configured here. For a full list, see here. |
Every table in Cinchy must have at least 1 column.
-
The Change Notifications tab is used to subscribe to data changes on the table.
- The Cinchy CDC will trigger on things like adding, updating, or deleting a cell/group of cells.
- The Cinchy CDC will trigger on row approvals, but not individual cell approvals.
- This is often used in tandem with a data sync by configuring the Cinchy CDC/Event Broker as a connection source.
-
Click Save to finalize your table.
-
You may return to change the structure of the existing table (such as rename columns, add new columns, change data type) by clicking on the Design Table button on the left-hand navigation.

Import a CSV to create a table
- Navigate to the Cinchy homepage. In the upper left-hand corner, click on Create to get started.
- Select either a Standard or a Spatial Table.
- Spatial Table: A spatial table allows you to create geography and geometry column types, as well as geospatial indexes. You won't be able to create partitions on a spatial table.
- Standard Table: You can't create geography or geometry columns in a standard table.
You can't convert from one type to another and will have to either recreate your table or link to another table with geospatial columns.
Any existing tables created before installing Cinchy Platform v4.19.0 are standard tables.
- Select Import a CSV.
- Enter the following information:
- Domain: Select the domain that you table will reside under. If you are have administrative privileges, you can also create new domains from this screen.
- File: To create the table, you must upload a .csv file.
The column names in your .csv file must not conflict with System Columns.
- When creating a table via Import a CSV, some settings will be set by default:
- Default Table Name: The name of the file will be used as the name of the table (a number will be appended if there is a duplicate - ex. uploading Teams.csv will create a table named Teams 1, then Team 2 if uploaded again). You can always rename the table after it has been created.
- Default Table Icon: The icon defaults to a green paintbrush.
- Default Column Types: Columns by default will be created as a text field, with a maximum length of the longest value in the column. If a column has only numeric values in it, it will be created as a numeric column.
- To update these settings, navigate to the Design Table tab on the left navigation bar.
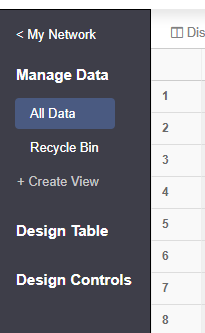
Table views
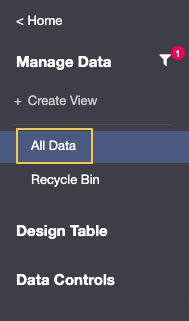
When you first create a table, a default view called All Data will be created for you, which you can find on the left navigation bar under Manage Data.
You can create also create additional views.
- Click on on "+Create View".
- You may chose to create a view From Scratch or by Copying an Existing view.
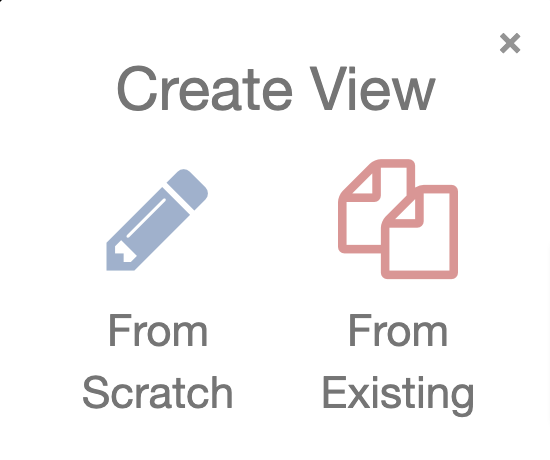
From Scratch
-
Select From Scratch.
-
The Columns tab will open. Create a Name for your view.
-
If you'd like this to become the default view, toggle the default setting to On.
-
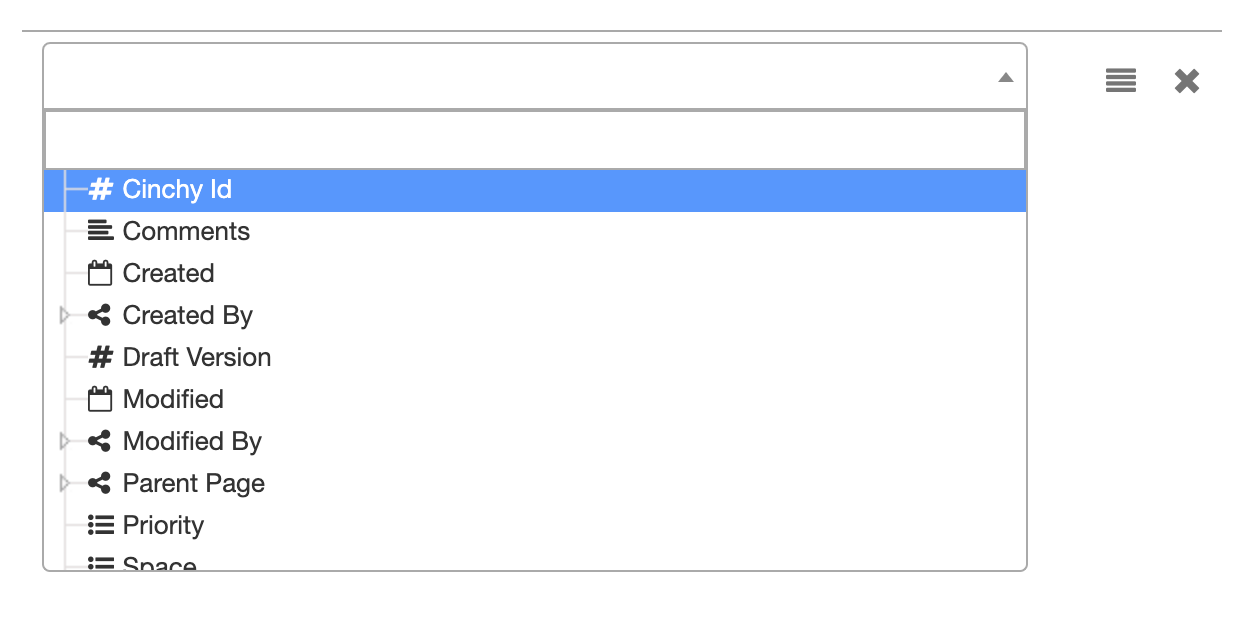
Select the column(s) that you want to be visible in this view. You may rearrange the column order using drag and drop.
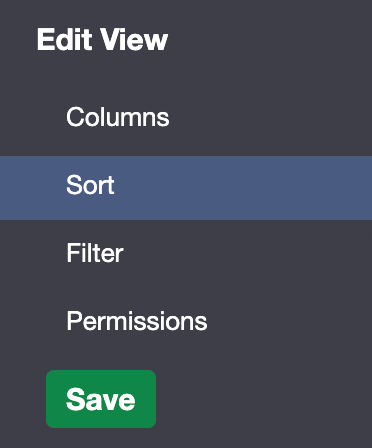
- Click on the Sort tab in the left navigation bar.
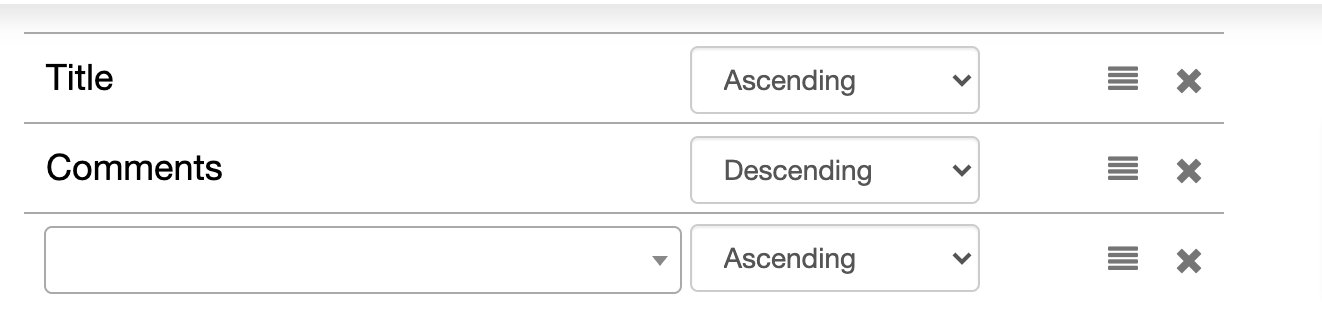
- Use this screen to select which columns you'd like to sort your data by, and in which order. You may rearrange the columns using drag and drop.
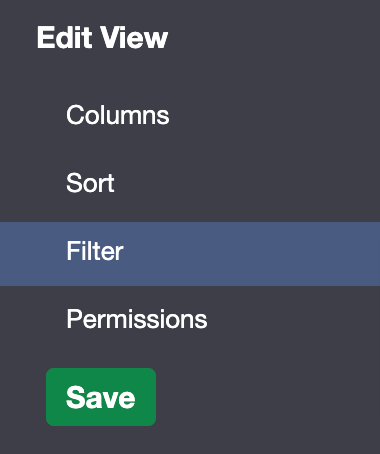
- Click on the Filter tab in the left navigation bar. Here, you may use query language to focus your view.
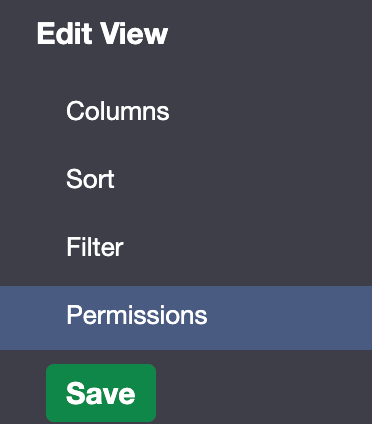
- Click on the Permission tab in the left navigation bar. Here, you may set permissions for who can use this view. By default, it's set to All Users.
- Select Save to finalize your view.
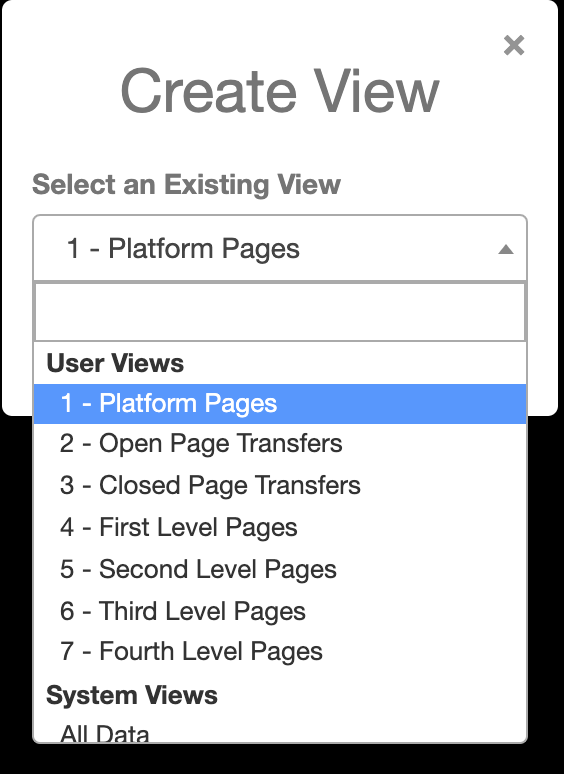
From Existing
- Select From Existing.
- Select which view you would like to copy.
Updating a view
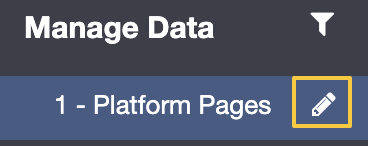
- To update any view, including the Add Data view, click on the pencil icon next to the view's name under Manage Data.
Bookmarks and the Homepage
Once you create a table, it will be added to your bookmarks by default. Other users (or if you un-star the table from your bookmarks) will see it in the Homepage if they have permissions to.