Data Browser
Cinchy officially supports Google Chrome and Mozilla Firefox browsers for accessing the data browser.
Homepage
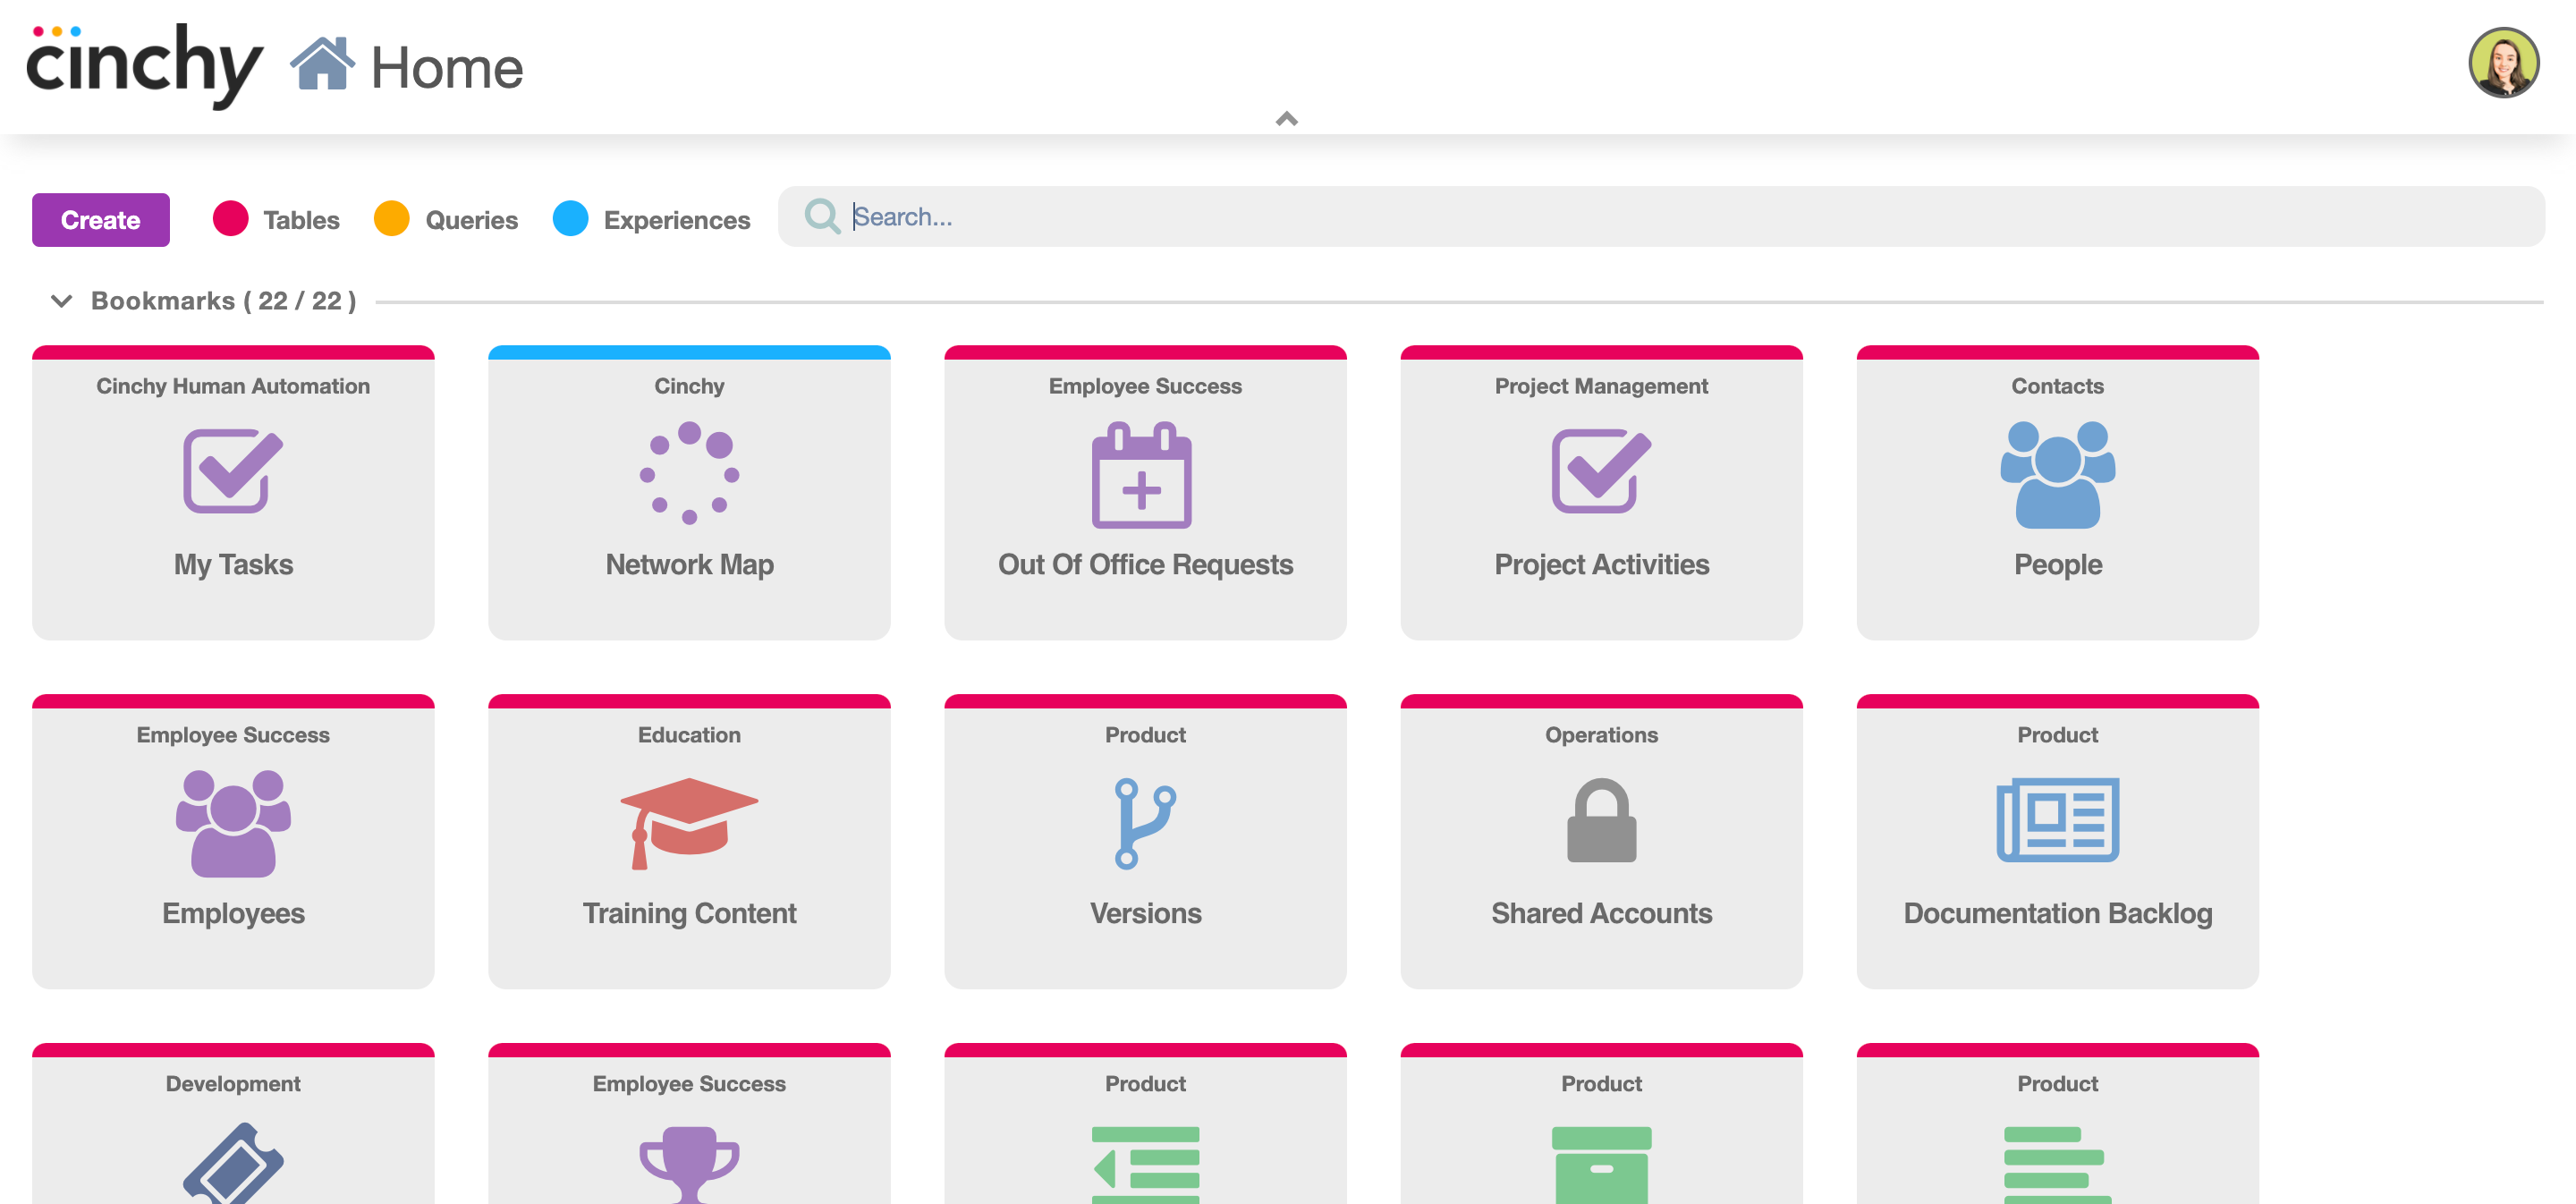
Once you log in to Cinchy, you'll be on the Homepage (Image 1). From here, you can navigate to a variety of tables, queries, and applets you have access to.
You can return to this page at any time by clicking the Cinchy logo in the top left corner.
Searching
All objects you have access to in your Marketplace (including bookmarks) are searchable and can be filtered by typing the partial or full name of the object you are searching for in the search bar (Image 2).

You can also search by object type by clicking on either Tables, Queries, or Experiences in the toolbar.
Bookmarks
You can bookmark your most often used objects and rearrange them to your liking within your bookmarks.
To bookmark an object, select the star. The star will be yellow when bookmarked, and grey when not (Image 3).
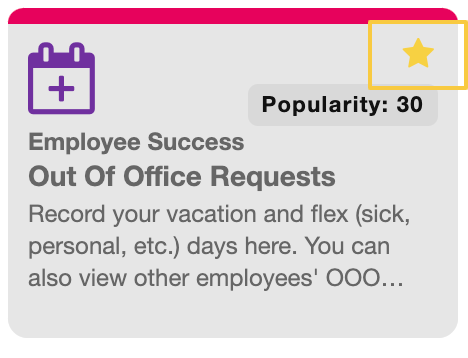
The object will pop into your “Bookmark” section. To rearrange your bookmark, drag and drop the object into the desired order.
Network Map
You "Network Map" shows a visualization of all tables in Cinchy you have access to and how they're all connected (Image 4).
Each of the coloured circles represents an object in Cinchy. The lines between them show the links between them.
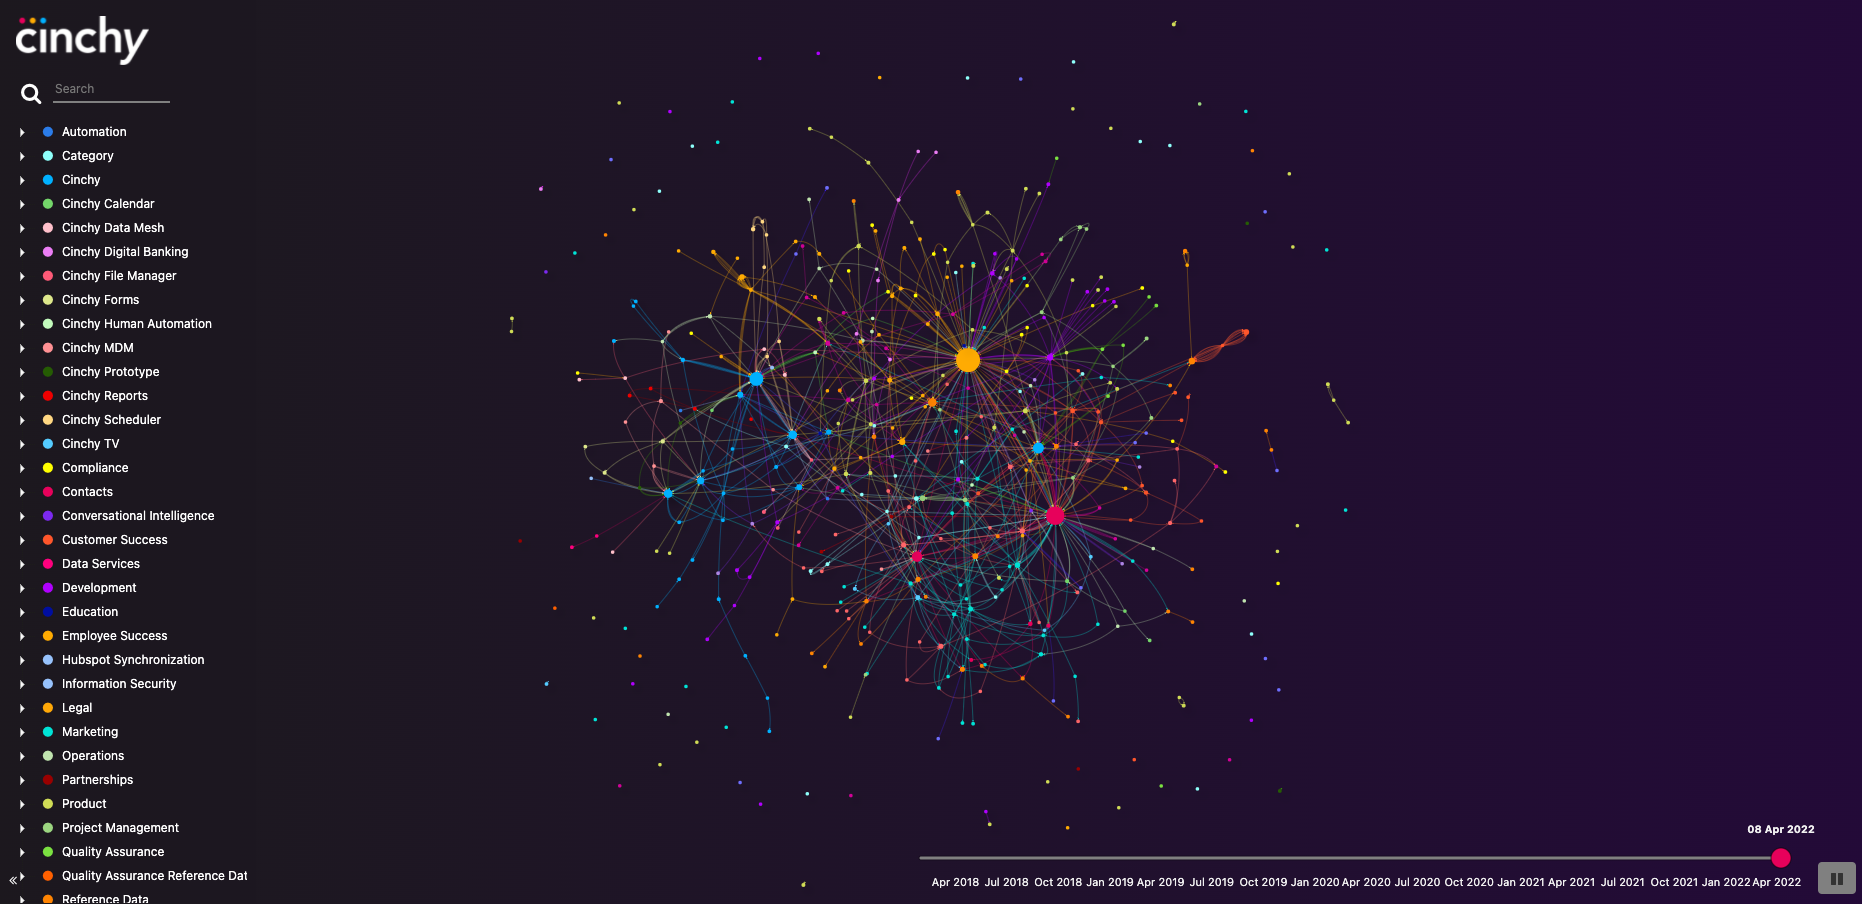
You are able to search and open tables from this view using the search bar on the left (Image 5).

You can see what the network looked like in the past by clicking and dragging the pink circle along the timeline at the bottom.
You can learn more about the Network Map here.
Network Map extra parameters
New URL Parameters for Network Visualizer
In version 5.2, Cinchy introduced new URL parameters to fine-tune the node view in your network visualizer. These parameters include Target Node, Depth Level, and Max Depth Level.
Example URL
<base url>/apps/datanetworkvisualizer?targetNode=&maxDepth=&depthLevel=
Parameters
Target Node
Defines the central node in the network view.
- Uses the TableID number, found in any table URL.
- Example:
<base url>/apps/datanetworkvisualizer?targetNode=8sets TableID 8 as the central node.
Max Depth
Limits the levels of network hierarchy displayed.
- Example:
<base url>/apps/datanetworkvisualizer?maxDepth=2shows only two levels of connections.
Depth Level
Highlights a specific depth of connections in the UI.
- Example:
<base url>/apps/datanetworkvisualizer?DepthLevel=1highlights first-level network connections.
Example Visualizer
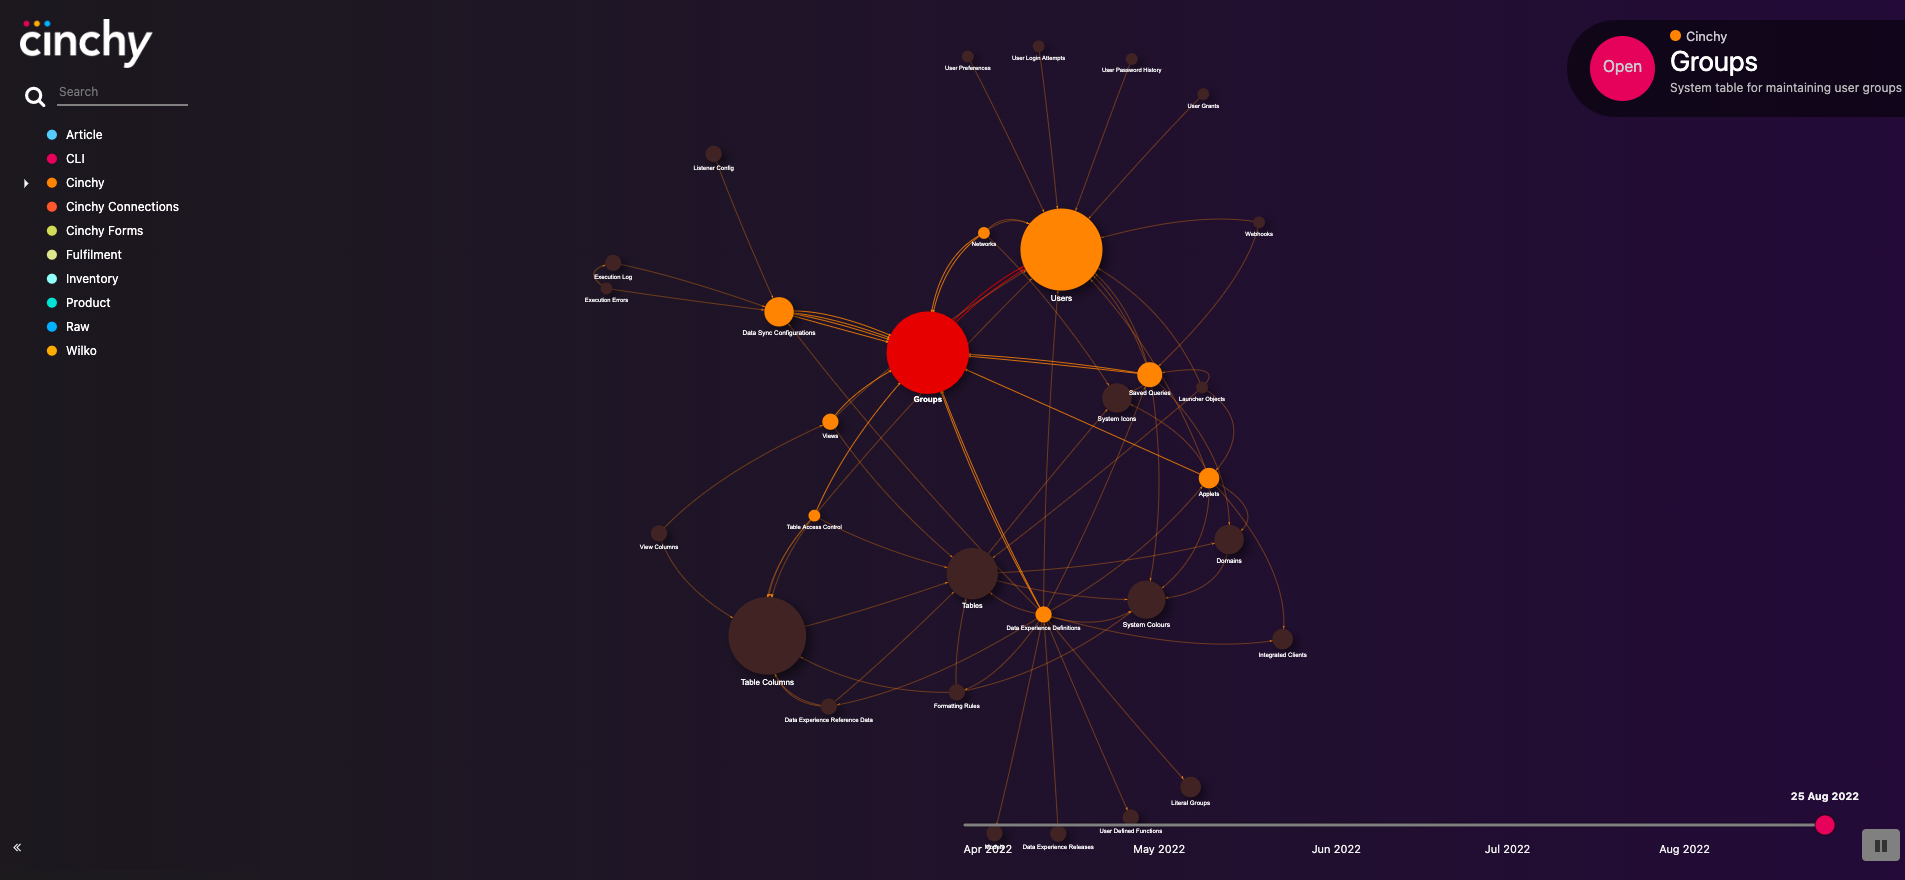
The following example uses this URL for visualization.
<base url>/apps/datanetworkvisualizer?targetNode=8&maxDepth=2&depthLevel=1
Logo
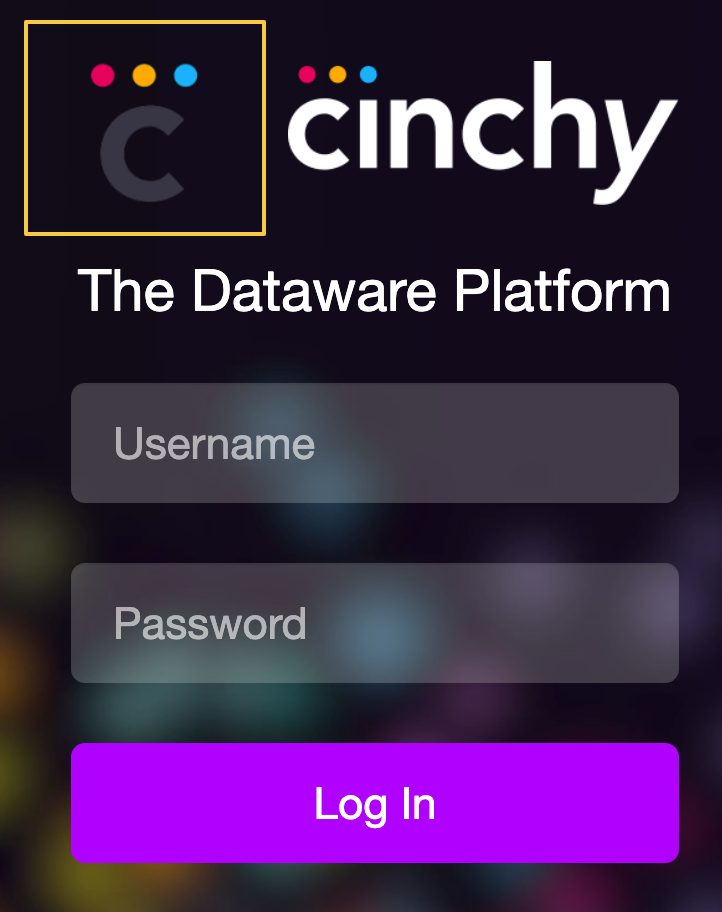
You can upload a custom logo to appear on your platform login screen and homepage. You will need to have admin access to do so.
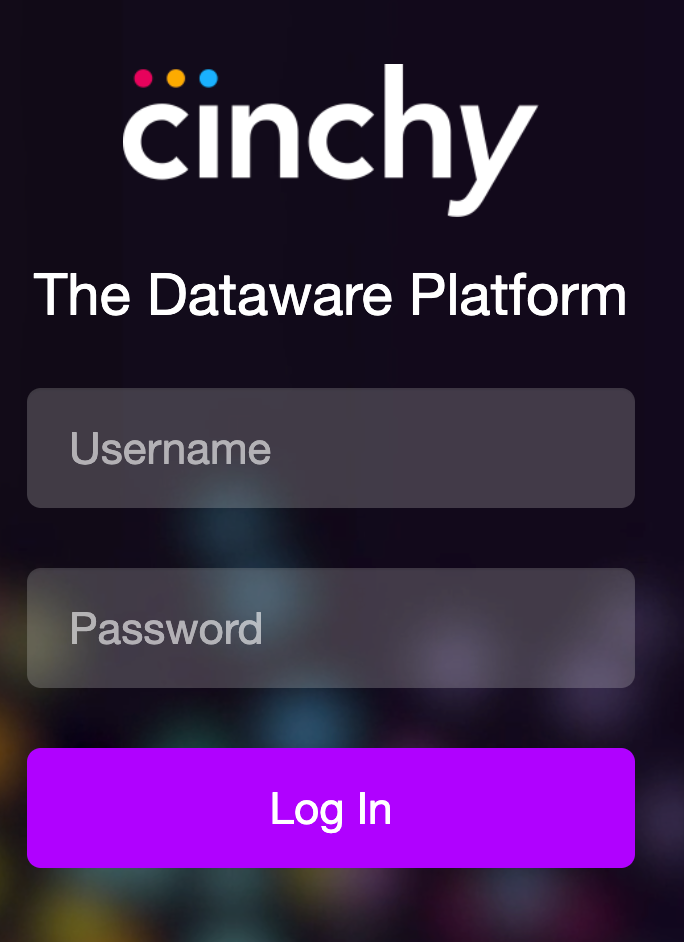
Examples without a logo uploaded (Images 7&8)

Examples with a logo uploaded (Images 9&10)
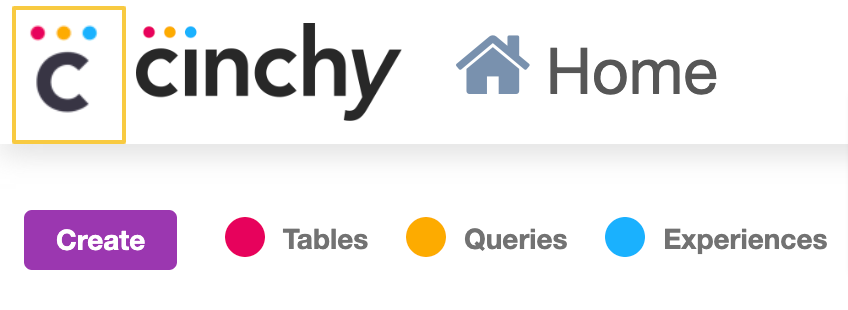
Upload a logo
- Navigate to
<base url>/admin/index - Scroll to the bottom of the admin panel and navigate to the “Upload Logo” button.
- Upload your logo.
Remove a Logo
- Once uploaded, your logo is stored in the System Properties table*.*
- Navigate to the table and find the row with Name: Logo (Image 12)
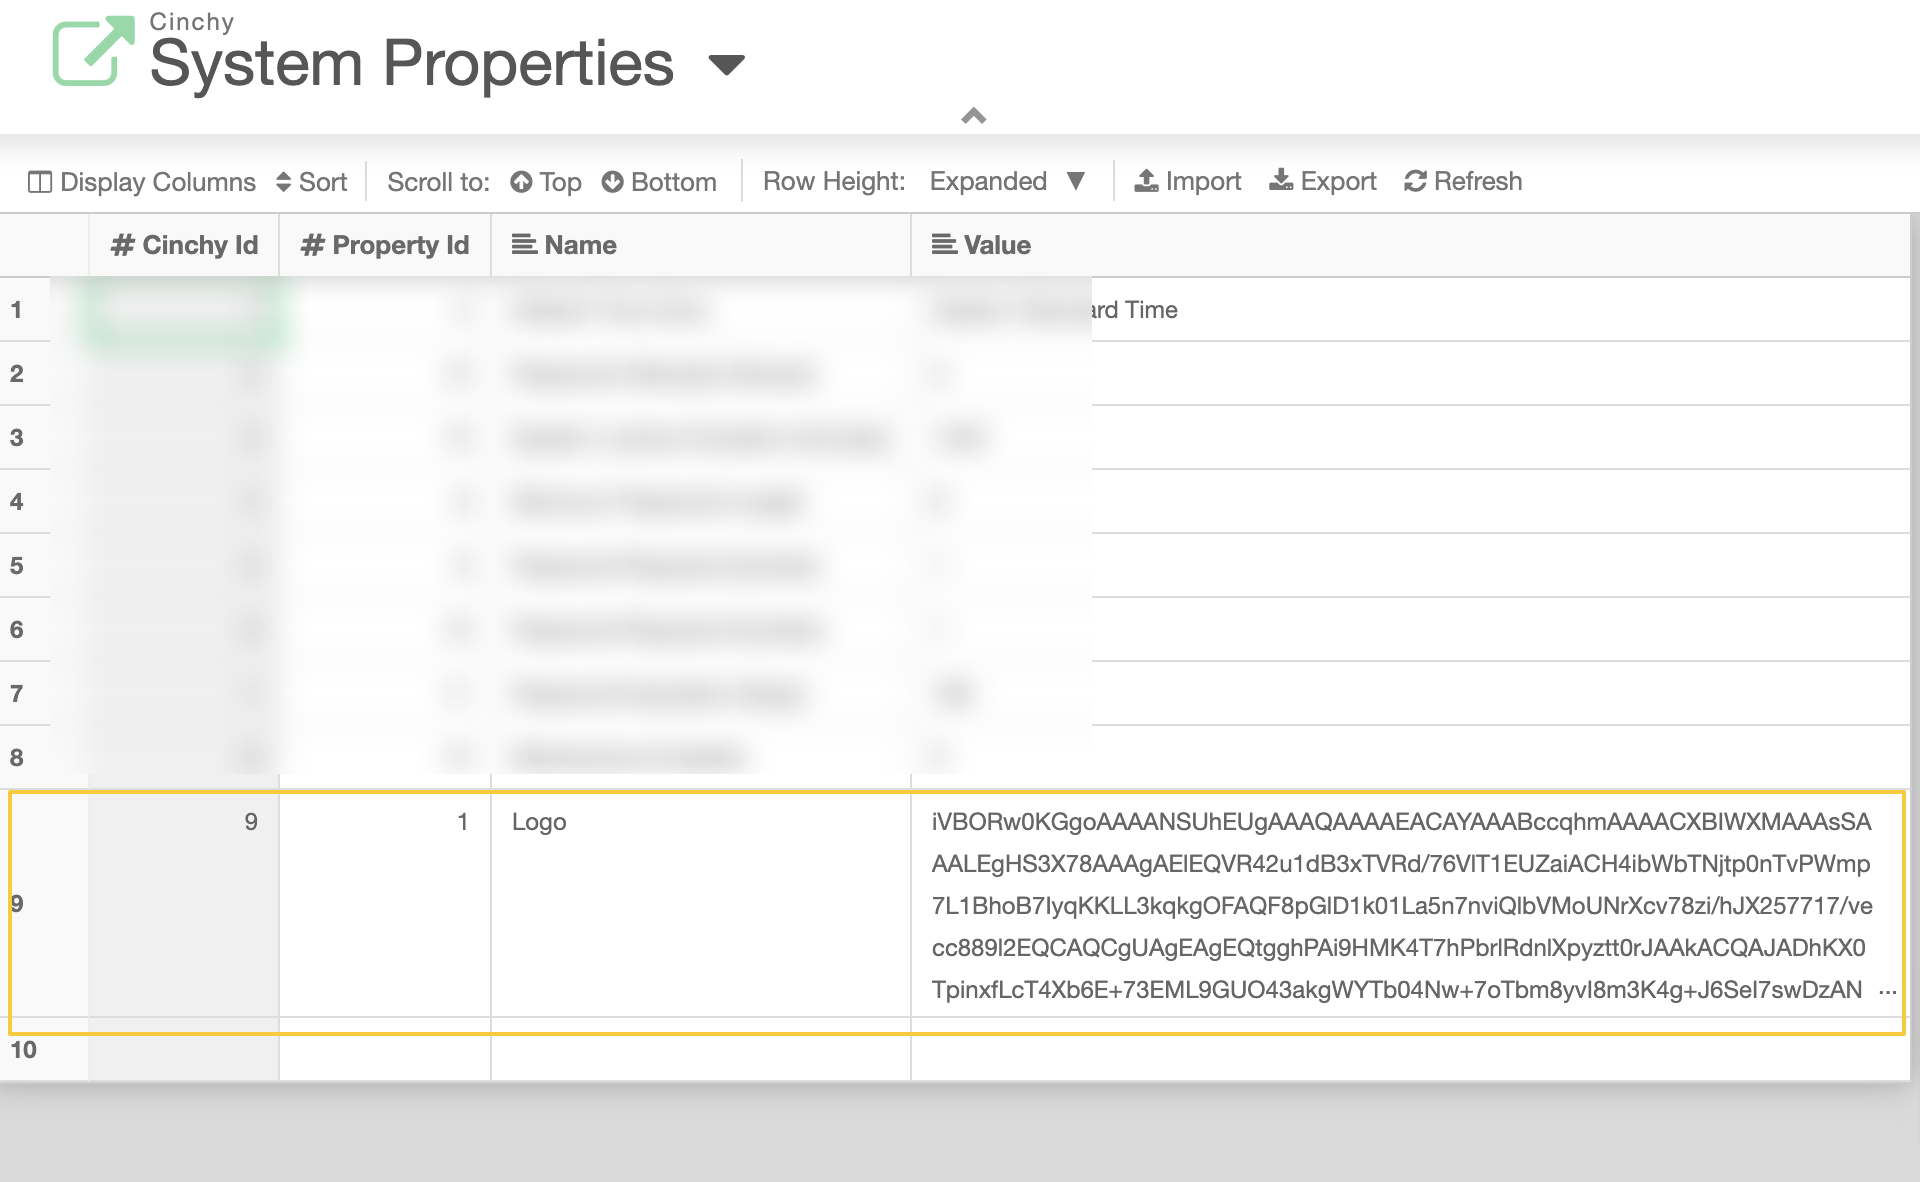
- Delete the Logo row to remove the logo.