Build a sync: start guide
A data sync in Cinchy synchronizes information between a source and a destination. This guide walks you through the process of setting up your data syncs.
Introduction to data syncs
Data Syncs are a powerful core feature of the Cinchy platform that can liberate your data from the dependencies of rigid application silos and aims to make your next integration your last. By synchronizing data between your apps and your data products, you can achieve federation and collaboration without rip and replace.
By liberating data, you reduce people/team dependencies and make data reusable -- leading to delivering business outcomes faster. Cinchy's Data Synchronization and Liberation capability unlocks your Legacy and SaaS data through:
- A Single Unified Platform: Data is centralized in a unified environment, fostering self-service access, and eliminating the need for extensive integrations.
- Data Free from Application Control: Data liberation frees data from application constraints. Your data becomes an independent entity, accessible to authorized users across your organization, without being bound to any specific application.
- Enhanced Data Governance: Cinchy's Universal Access Controls ensure that your data remains secure, compliant, and accessible only to authorized users.
- Bi-Directional Data Synchronization: Data consistency is ensured as updates propagate across your organization through real-time or batch integration, effectively eliminating data silos and data copies
- Infrastructure Compatibility: Whether on-premise, on cloud, or a hybrid environment, data liberation seamlessly adapts to wherever your data is stored.
- Born Free Data Management: New data is born free from data silos, which means your organization can quickly adapt to changes and innovations without the constraints of traditional integration.
With an evolving list of data connectors available, harnessing the power of data syncs is an integral step to reducing your integration costs and complexity.
Access
To properly view and run data syncs, users must be added to a group that can access a certain set of tables. Depending on your entitlements strategy and use case, you can either add these permissions to the "Cinchy Builders" group or create a new, custom user group such as "Connections Access".
An admin user must give the user group read and write access to the following tables. This can be done via the Data Controls tab of each table:
- Applets table, required to view the Connections UI;
- Data Sync Configuration table;
- Listener Configuration table, required for real-time syncs;
- Listener State table, required for real-time syncs.
Additionally, a user group needs access to the following:
- Read/write/execute permission on any individual sync they wish to run. This can be configured within the Connections UI when designing a sync;
- Access to the Source and Destination of the sync;
- For Cinchy v5.12+ The 'View All Columns' entitlement in the User Defined Topics table.
Without access to any/all of the above, various errors can occur such as:
- Being unable to see the Connections Applet/UI;
- Being unable to save a data sync configuration;
- Being unable to run a data sync.
Basic workflow
The basic workflow of a creating a data sync in Cinchy is:
- Define your data sync outcome, type, and pattern.
- Define your data sync source and destination.
- Specify your sync actions.
- Create and configure your sync
- Test and run
Define your sync outcome, type, and design pattern
Before creating your data sync, you will want to define your outcome. Based on what goal you are trying to accomplish, you will want to make use of different sync types and design patterns.
Outcome examples include:
- Liberating a local spreadsheet so that it becomes a collaborative, living document.
- Tracking real-time customer website sign-up data (including inserted, modified, or deleted records) in such a way that it is queryable and reusable.
- Managing customer data between external applications.
Figuring out what the ideal outcome is will help dictate the type of sync you need to set up and its design pattern.
There are two types of syncs that you can use to move data between sources and destinations, they are Batch Syncs or Real-Time Syncs.
Batch syncs process a batch of data together. They are most suitable for one-time data loads or periodic runs. A batch sync is ideal in situations where the results and updates don't need to occur immediately but they can occur periodically. For example, a document that's reviewed once a month might not need an update for every change.
Real-time syncs push individual data events in real-time through the Cinchy listener and worker. Your data changes are available and synced immediately as they occur, and don't need to be manually triggered or scheduled. These syncs are ideal in situations where data is being frequently updated or where the updates must be immediately captured.
Not every Connector supports both types of syncs. Visit the specific data source and destination pages for details.
The above outcome examples can be paired with their ideal sync type:
- Liberating a local spreadsheet so that it becomes a collaborative, living document can be done via a batch sync into Cinchy.
- Tracking real-time user sign-up data (including inserted, modified, or deleted records) in such a way that it is queryable and reusable can be done via a real-time sync into Cinchy.
- Managing customer data between external applications can be done via two syncs -- one using Cinchy as a destination and one using Cinchy as a source. Depending on your needs, this could be done via either type of sync.
Review the full documentation on types of data syncs here.
Review the full documentation on design patterns here
Define your data sync source and destination
The term "source" describes where your data is coming out from. The term "destination" describes where the data is going into. Depending on your desired outcome, these could could be applications, tables, queries, or files.
For example:
- If you were liberating a local spreadsheet, your source might be an Excel File and your destination might be a Cinchy table
- If you wanted to track your real-time user sign-up data, you source might be a REST API and your destination might be a Cinchy table
- Managing your customer data between applications would involve configuring at least two syncs with differing sources and destinations. If, for example, we wanted to take data from Salesforce and sync it into Hubspot, your first sync would be Salesforce source > Cinchy. Your second sync would then be Cinchy source > Hubspot (via REST API).
A full list of compatible sources and destinations can be found here and in the table below:
| Batch Sources | Event Sources | Destinations |
|---|---|---|
| Binary File | - | - |
| Cinchy Event Broker/CDC | Cinchy Event Broker/CDC | - |
| Cinchy Query | - | - |
| Cinchy Table | - | Cinchy Table |
| Copper | - | - |
| - | Data Polling | - |
| DB2 | - | DB2 Table |
| Delimited File | - | Delimited File (Amazon S3 or Azure Blob Storage) |
| Dynamics 2015 | - | - |
| Dynamics | - | Dynamics |
| DynamoDB | - | - |
| Excel | - | - |
| Fixed-Width File | - | - |
| Kafka Topic | Kafka Topic | Kafka Topic |
| LDAP | - | - |
| - | MongoDB | - |
| Mongo Event | - | - |
| MongoDB Collection | MongoDB Collection (Cinchy Event Triggered) | MongoDB Collection |
| MSSQL Server | - | MSSQL Server Table |
| ODBC Query | - | - |
| Oracle | - | Oracle Table |
| Parquet | - | - |
| REST API | REST API (Cinchy Event Triggered) | REST API |
| Salesforce Object (Bulk API) | - | Salesforce Object |
| Salesforce Platform Event | - | - |
| Salesforce Push Topic | Salesforce Push Topic | - |
| SAP Success Factors | - | - |
| Snowflake | - | Snowflake Table |
| SOAP 1.2 Web Service | SOAP 1.2 Web Service (Cinchy Event Triggered) | SOAP 1.2 Web Service |
Once the source and destination have been defined, you need to determine your sync actions, i.e. what you want Cinchy to do with your data records.
Define your Sync Actions
There are two types of sync behaviours that you can use to achieve your desired outcome: Full File or Delta.
Full File syncs intake both the source and the destination data and reconcile the records by matching up the sync key. This determines any differences and allows it to perform updates, inserts, ignores, or deletes at the destination. When setting up a Full File sync between an Event Source and a Cinchy Table (or other database), we recommend adding an index to your destination -- this ensures that the reconciliation does not impact other operations or cause undo load on your system. You can read more about this recommendation here.
Delta syncs skip the reconciliation process. In batch syncs, it simply grabs records from the source and inserts it into the destination. In real-time syncs, it may act differently depending on the event type. For example, when using the Cinchy Event Broker/CDC with an insert event, a delta sync will insert the data into the destination, an update event will update, etc.
You can read the full document about Sync Actions here.
Once your Sync Actions been defined, you can use the Cinchy Connections Experience to configure your sync to suit your needs. Experienced builders can also configure their sync using a Config XML.
Create and configure your data sync
You have two ways to set up a data sync in Cinchy:
- Use the Connections UI to input and save configuration details. The data will be stored as an XML file in the Data Sync Configurations table.
- Directly upload an XML config into the Data Sync Configurations table.
Set up a data sync with the Connections UI
To use the Connections UI, open the Connections Experience.
Connections UI workflow
The UI has six tabs. Each tab requires data for your connection setup:
- Info
- Source
- Destination
- Sync Actions
- Post Sync (Optional)
- Jobs (Optional)

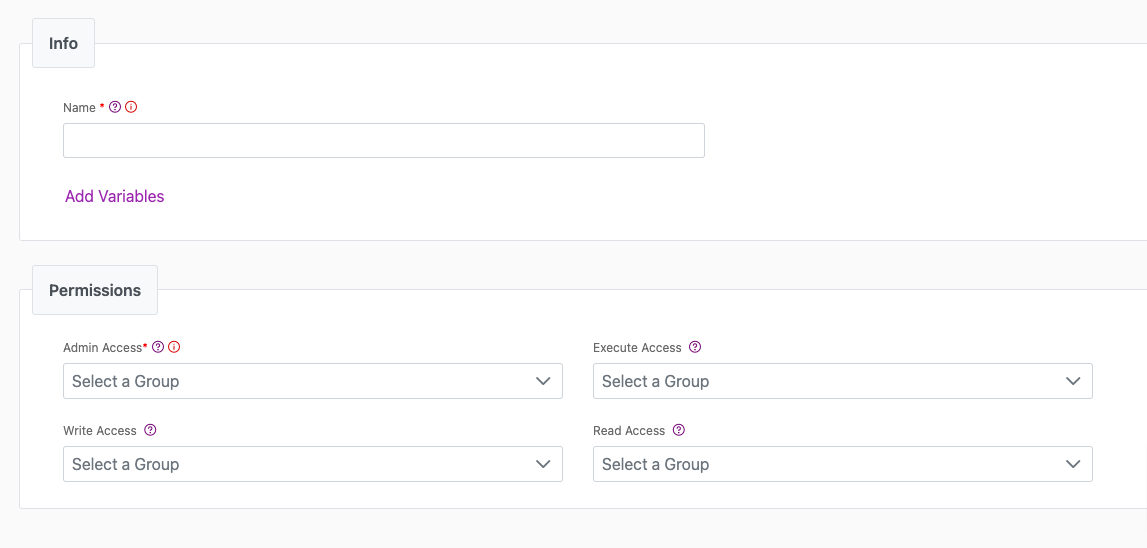
Info Tab
The Info Tab has fundamental details about your data sync, such as its name and access controls. You must add a name and select an Admin Group. You can also use variables for advanced functionality.
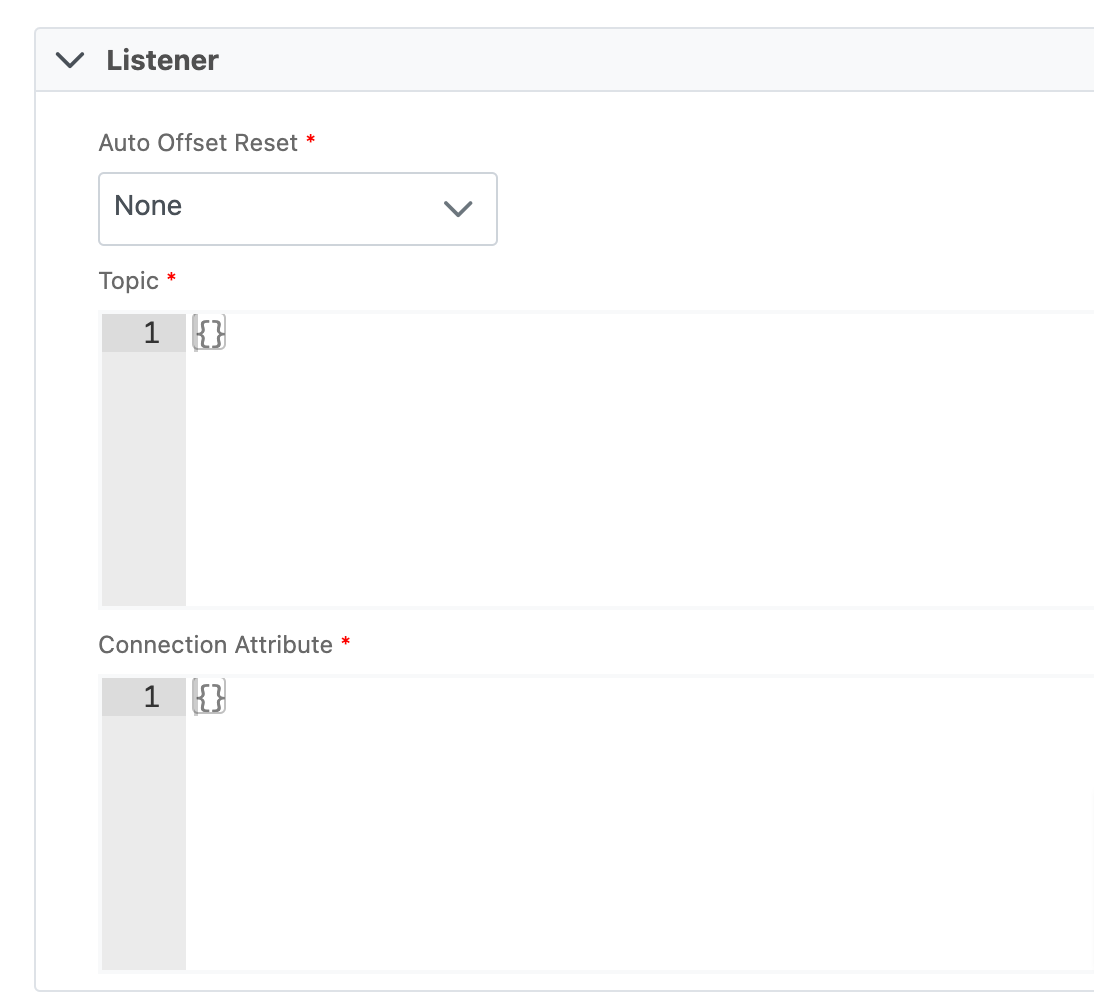
Source Tab
The Source Tab defines the origin of your data sync. Each data source type, from specific file formats to integrated software systems, requires unique parameters.

When working with real-time sync sources, you'll notice an extra tab for Listener configuration. The adjustments you make here directly influence the Listener Config table. Navigate through the options and set up as needed. For more info, see the Listener Config and Sync Source pages.
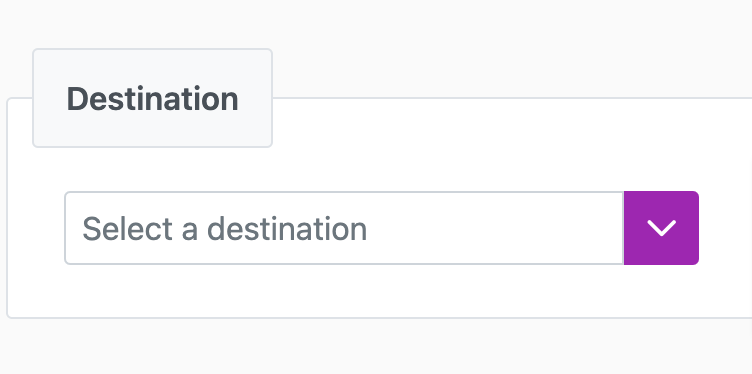
Destination Tab
The Destination Tab identifies where your data sync goes. Each destination comes with its own set of parameters. You must map each destination to its source.
Sync Actions Tab
In the Sync Actions Tab, you can choose your preferred data action. Your main options are Full File Sync and Delta Sync. Not sure about the differences? Check out this comparison for more details.

Post Sync Tab (Optional)
In the Post Sync Tab, you can use Cinchy Query Language (CQL) to refine the post-sync data. For example, you could set up a post-sync script to push retrieved data values into a specific Cinchy table. You can find more on this in the Post-sync scripts page.

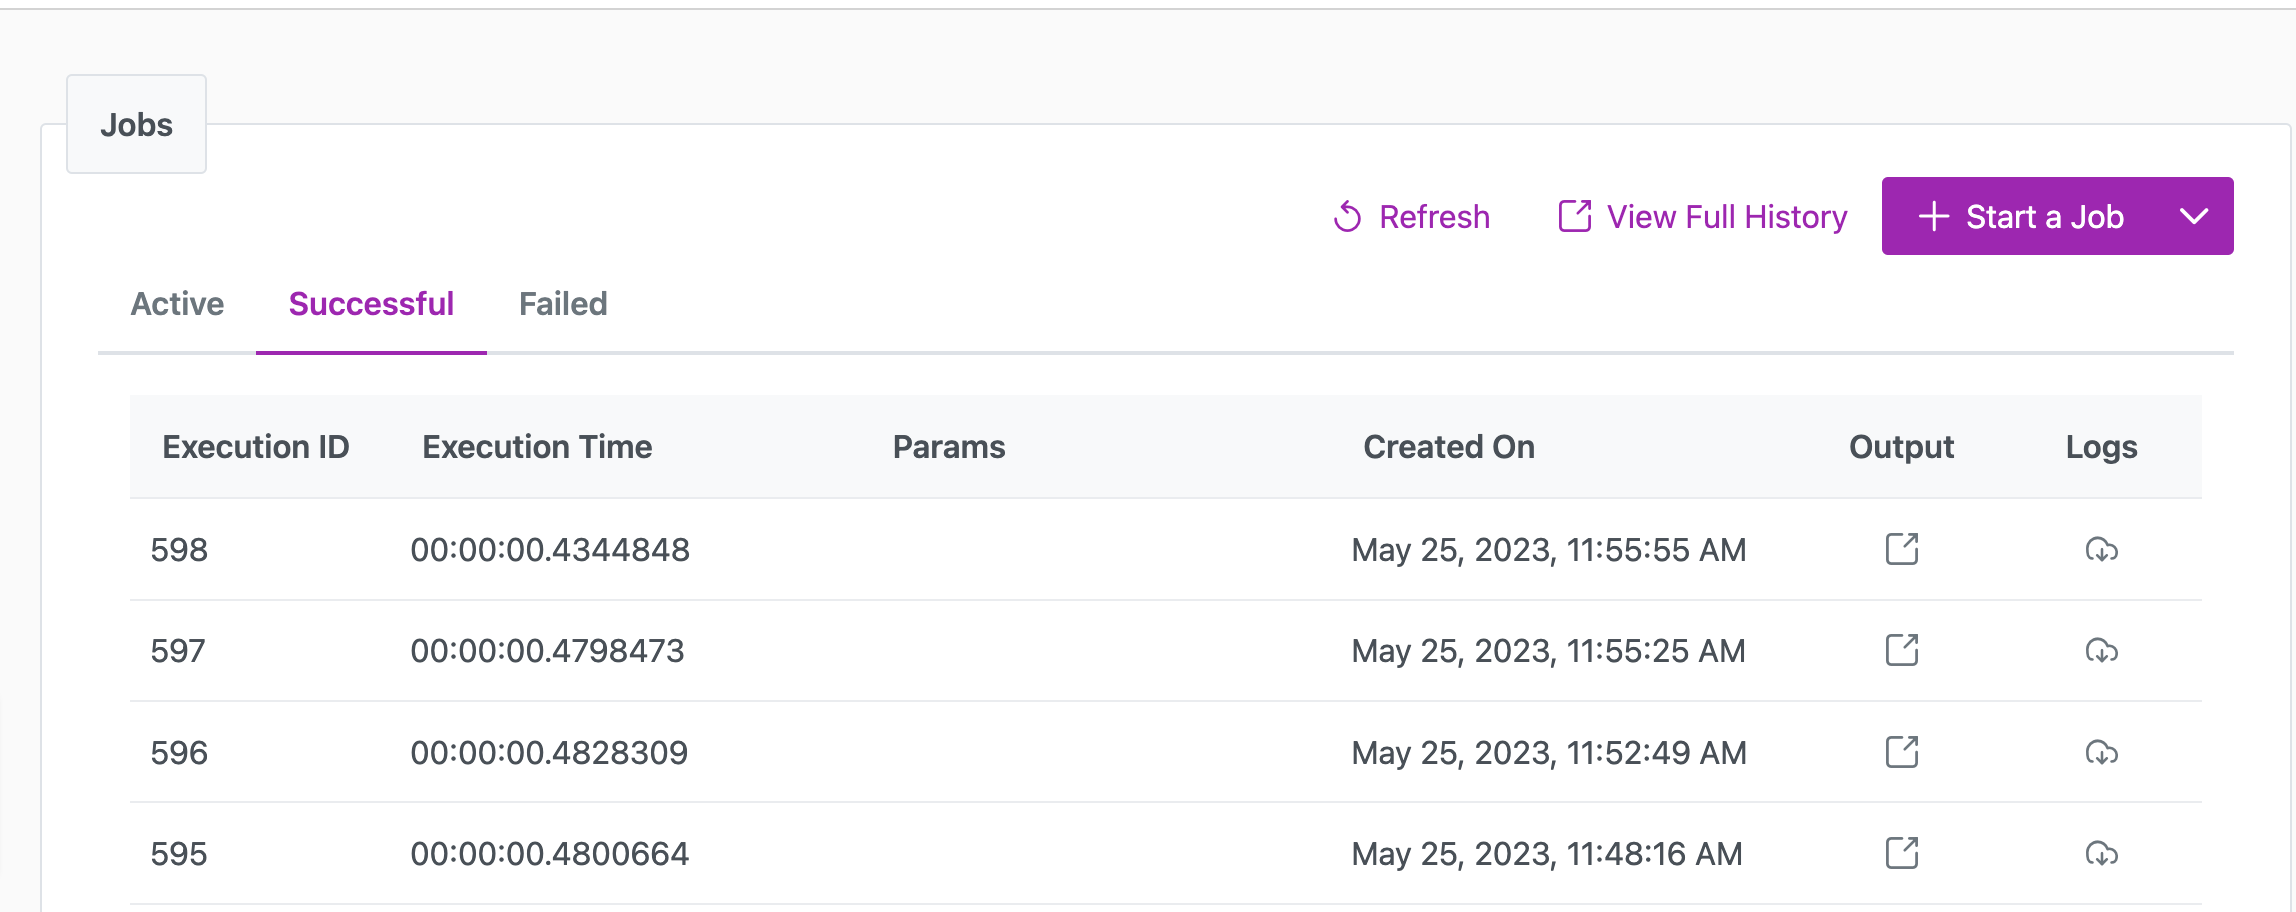
Jobs Tab (For Batch Data Syncs)
In the Jobs tab, you can start, monitor, and troubleshoot batch jobs. You can also view sync outputs or download detailed logs for analysis. For non-default user operations, ensure you have the right credentials and permissions.
By default, the job will run as whichever user is logged in (as long as you have authority to run the Job). You have the option to run it as another, non-SSO account if:
- You have the credentials
- The account has access to run the Job
You can configure this by clicking on Advanced > Run Job as a Different User
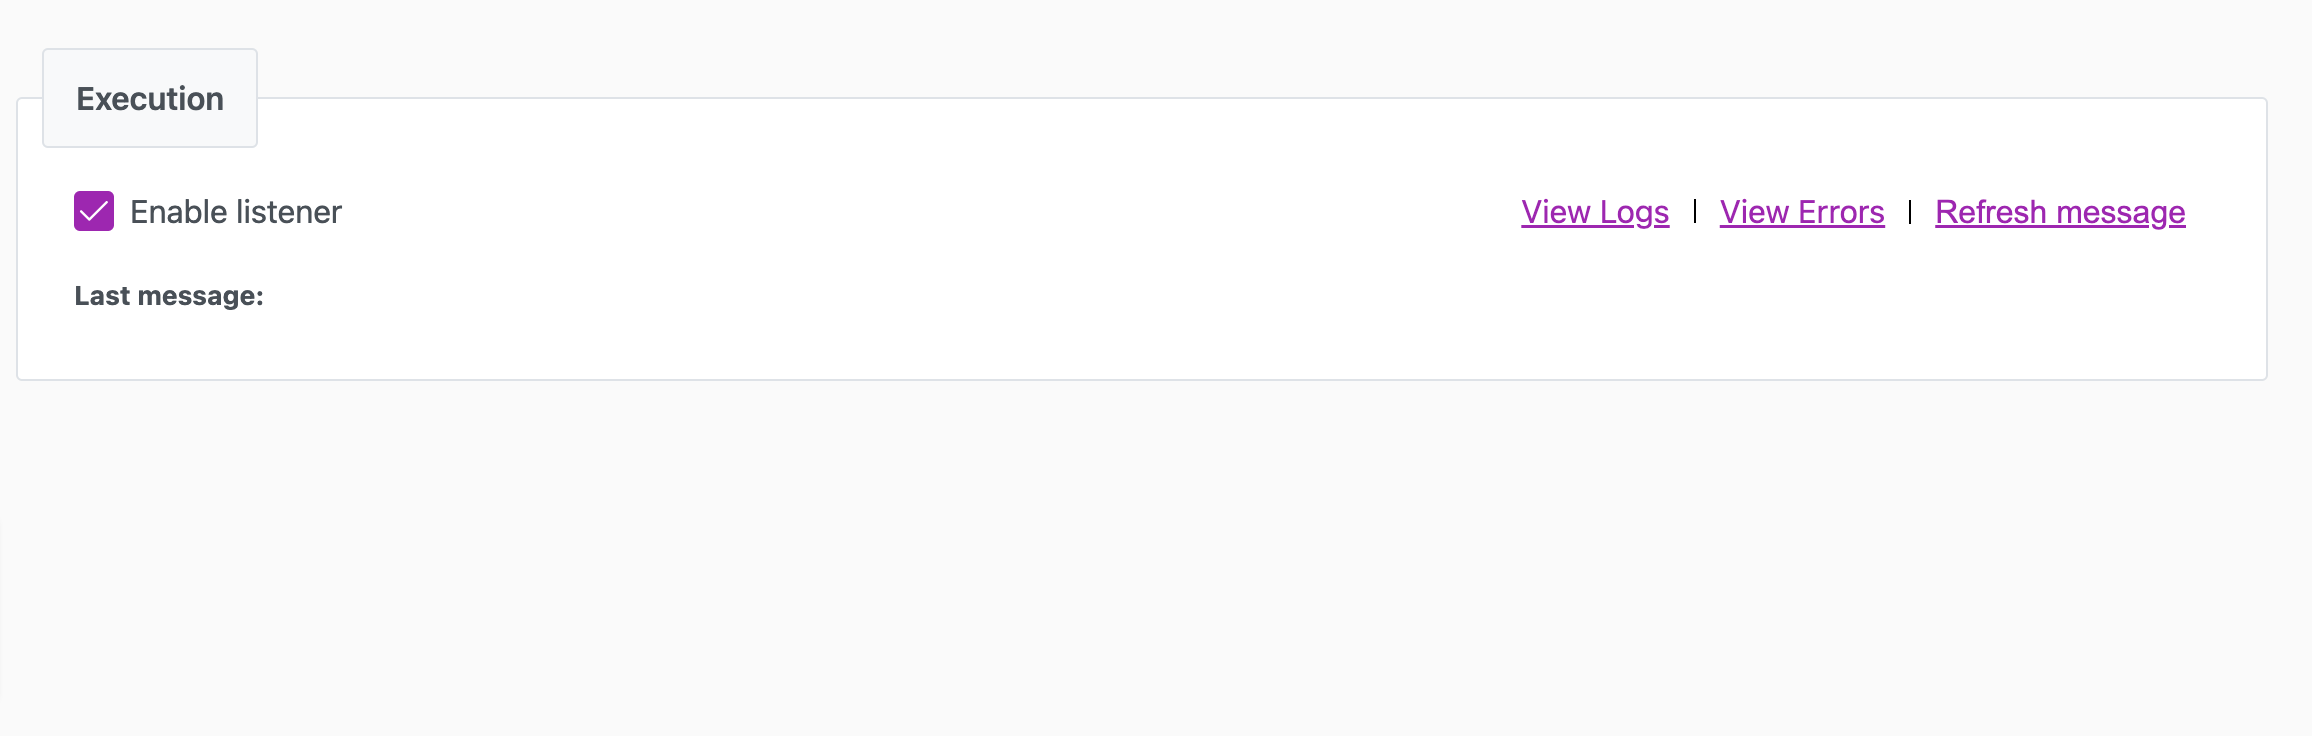
Execution Tab (For Real-time Syncs)
Track potential issues with your real-time syncs. Syncs become operational once the Listener Config is enabled—no need for manual job starts.
Set up a data sync with Config XML
You can also set up a data sync in Cinchy by uploading a formatted XML into the Data Sync Configurations table. This method is only recommended for those with advanced knowledge in data sync operations.
Unique XML patterns may exist across different sources and targets. If you're unfamiliar with this process, check out the Delimited File source to Cinchy Table batch data sync example first.
-
Access the Data Sync Config Table: In the Cinchy platform, open the Data Sync Configurations table.

-
Insert Data Sync XML: For a new row, double-click the Config XML column and paste your Data Sync XML.
-
Define Group Permissions: Adjust the required permissions in the appropriate columns.
-
Review the XML Data: After finalizing your Data Sync XML, return to the Data Sync Configurations table.
 info
infoThe Config XML auto-populates columns like Name and Config Version. :::
-
Initiate Sync with the CLI: If you haven't installed the CLI, refer to the CLI installation guide. Otherwise, launch PowerShell and navigate to the Cinchy CLI directory.
-
Run the CLI Command:
.\Cinchy.Connections.CLI.exe syncdata -s "pilot.cinchy.co/Training/Cinchy/" -u "admin" -p "DESuEGqmx55yl2PYxa4ncc+5+bLkoVIFpgs0Lq6hkcU=" -f "Data Sync Name"
More details on CLI commands can be found in the CLI commands list.
Test and Run
After setting up the configuration:
- Batch syncs: Execute your job through the Connections UI.
- Real-time syncs: Test by altering the source system and checking if the target updates.
Schedule Your Data Sync
Batch syncs can be scheduled using a task/job scheduling application.
Examples
The following pages show basic examples of both batch and real-time data syncs. Use these examples as a reference point for learning more about Cinchy data syncs.