Parquet
Overview
Apache Parquet is a file format designed to support fast data processing for complex data, with several notable characteristics:
1. Columnar: Unlike row-based formats such as CSV or Avro, Apache Parquet is column-oriented – meaning the values of each table column are stored next to each other, rather than those of each record:
2. Open-source: Parquet is free to use and open source under the Apache Hadoop license, and is compatible with most Hadoop data processing frameworks. To quote the project website, “Apache Parquet is… available to any project… regardless of the choice of data processing framework, data model, or programming language.”
3. Self-describing: In addition to data, a Parquet file contains metadata including schema and structure. Each file stores both the data and the standards used for accessing each record – making it easier to decouple services that write, store, and read Parquet files.
Example use case
You have a parquet file that contains your Employee information. You want to use a batch sync to pull this info into a Cinchy table and liberate your data.
The Parquet source supports batch syncs.
Info tab
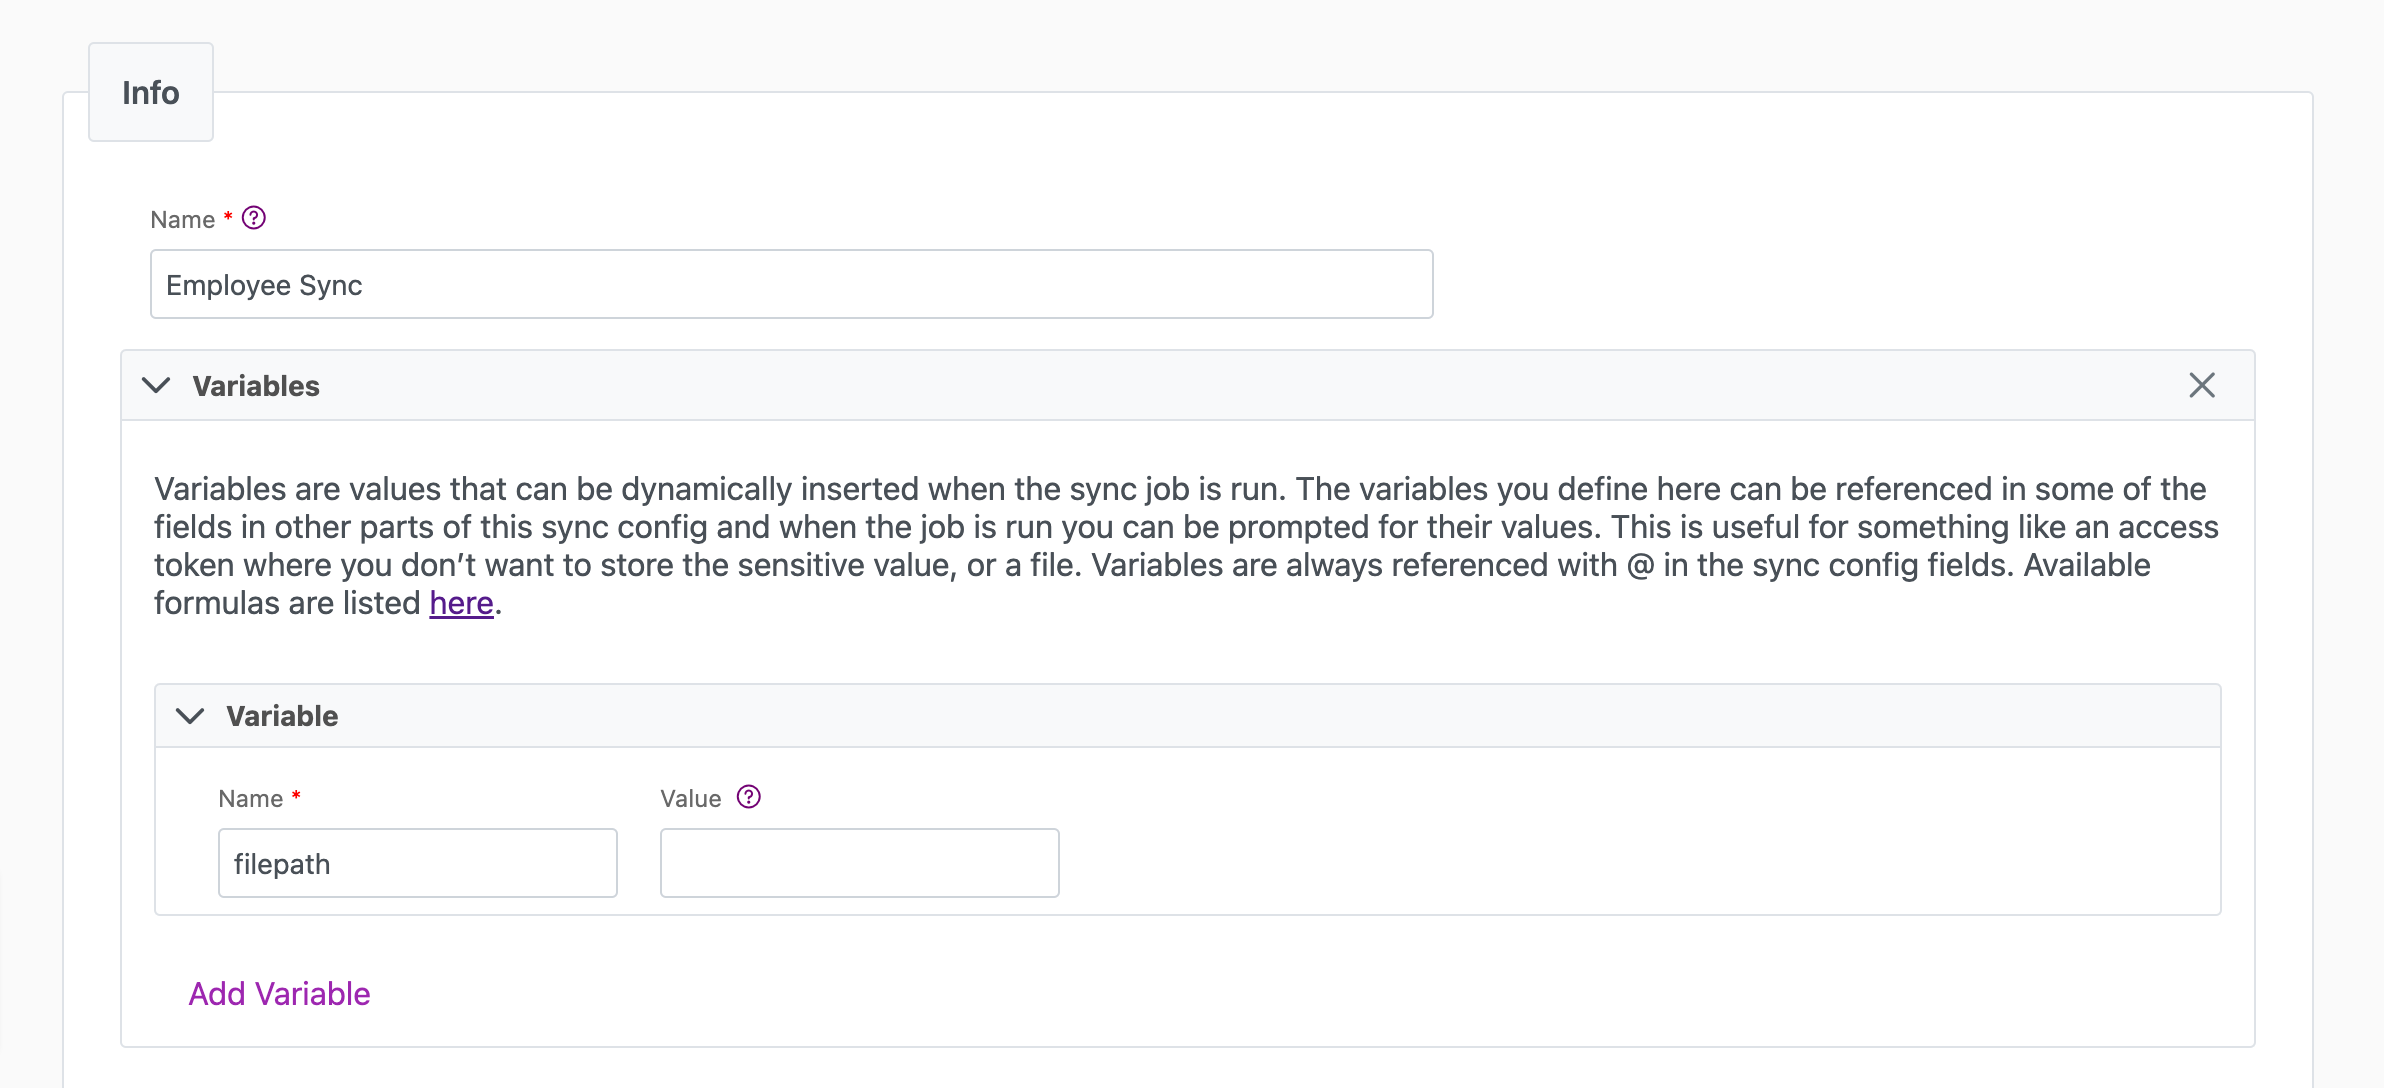
You can find the parameters in the Info tab below (Image 1).
Values
| Parameter | Description | Example |
|---|---|---|
| Title | Mandatory. Input a name for your data sync | Employee Sync |
| Variables | Optional. Review our documentation on Variables here for more information about this field. When uploading a local file, set this to filepath. | Since we're doing a local upload, we use "@Filepath" |
| Permissions | Data syncs are role based access systems where you can give specific groups read, write, execute, and/or all of the above with admin access. Inputting at least an Admin Group is mandatory. |

Source tab
The following table outlines the mandatory and optional parameters you will find on the Source tab.
- Source Details
- Schema
- Filter
The following parameters will help to define your data sync source and how it functions.
For information on setting up registered applications for S3 or Azure, please see the Registered Applications page.
| Parameter | Description | Example |
|---|---|---|
| (Sync) Source | Mandatory. Select your source from the drop-down menu. | Parquet |
| Source | Location of the source file. Supports Local upload, Amazon S3, Azure Blob Storage with various authentication methods. | Local |
| Row Group Size | Mandatory. Size of Parquet Row Groups. Review the documentation here for more on Row Group sizing. | The recommended disk block/row group/file size is 512 to 1024 MB on HDFS. |
| Path | Mandatory. Path to source file. Local upload requires Variable in Info tab. | @Filepath |
| Auth Type | Defines the authentication type. Supports "Access Key" and "IAM role". Additional setup is required. Read more | |
| Test Connection | Use to verify credentials. A "Connection Successful" pop-up appears if successful. |
The Schema section is where you define which source columns you want to sync in your connection. You can repeat the values for multiple columns.
| Parameter | Description | Example |
|---|---|---|
| Name | Mandatory. The name of your column as it appears in the source. | Name |
| Alias | Optional. You may choose to use an alias on your column so that it has a different name in the data sync. | |
| Data Type | Mandatory. The data type of the column values. | Text |
| Description | Optional. You may choose to add a description to your column. |
Select Show Advanced for more options for the Schema section.
| Parameter | Description | Example |
|---|---|---|
| Mandatory |
| |
| Validate Data |
| |
| Trim Whitespace | Optional if data type = text. For Text data types, you can choose whether to trim the whitespace._ |
You can choose to add in a Transformation > String Replacement by inputting the following:
| Parameter | Description | Example |
|---|---|---|
| Pattern | Mandatory if using a Transformation. The pattern for your string replacement. | |
| Replacement | What you want to replace your pattern with. |
Note that you can have more than one String Replacement
You have the option to add a source filter to your data sync. Please review the documentation here for more information on source filters.
Next steps
- Configure your Destination.
- Define your Sync Actions.
- Add in your Post Sync Scripts, if required.
- Click Jobs > Start a Job to begin your sync.