v5.21 (IIS)
The following process can be run when upgrading any v5.x instance to v5.21.x on IIS.
v5.21 itself adds no new components, but two optional services were introduced in recent releases. If you are upgrading from an older version and want them, install them as part of this upgrade:
- Cinchy MCP Server — added in v5.19. See MCP Deployment.
- Cinchy Email Notification Service — added in v5.20. See Email Notification Service Deployment.
Both services are optional — skip this note if you are already on v5.20 or do not need them.
The upgrade of any version to Cinchy v5.21.x may require changes to be made to various AppSetting files.
Prerequisites
If you have made custom changes to your deployment file structure, please contact your Support team before you upgrade your environments.
- Download the latest Cinchy Artifacts from the Cinchy Releases Table > Release Artifacts column. Check this into your file repository and make note of the path so that you can easily find it again later. (For example:
/Users/user/Desktop/Upgrades/Cinchy v5.21.x) - Download the following if not already installed. Note that Cinchy v5.18+ has been updated from .NET 8 to .NET 10.
Considerations
Depending on your current version, you may need to:
- Run the 5.2 upgrade script
- Run the 5.5 upgrade script
Considerations Table
| Current Version | Run the 5.2 Upgrade Script | Run the 5.5 Upgrade Script |
|---|---|---|
| 5.0 | Yes | Yes |
| 5.1 | Yes | Yes |
| 5.2 | X | Yes |
| 5.3 | X | Yes |
| 5.4 | X | Yes |
| 5.5 | X | X |
| 5.6 | X | X |
| 5.7 | X | X |
| 5.8 | X | X |
| 5.9 | X | X |
| 5.10 | X | X |
| 5.11 | X | X |
| 5.12 | X | X |
| 5.13 | X | X |
| 5.14 | X | X |
| 5.15 | X | X |
| 5.16 | X | X |
| 5.17 | X | X |
| 5.18 | X | X |
| 5.19 | X | X |
| 5.20 | X | X |
Upgrade process
- Take a backup of your database.
- For an example on how to do so using SQL Server Management Studio, click here.
- Navigate to the new
Cinchy v5.21.xfolder that was downloaded in the Prerequisites section of this guide. - From within the
Cinchy v5.21.xfolder, navigate to the/Cinchy v5.21.x/Cinchy/appsettings.jsonfile.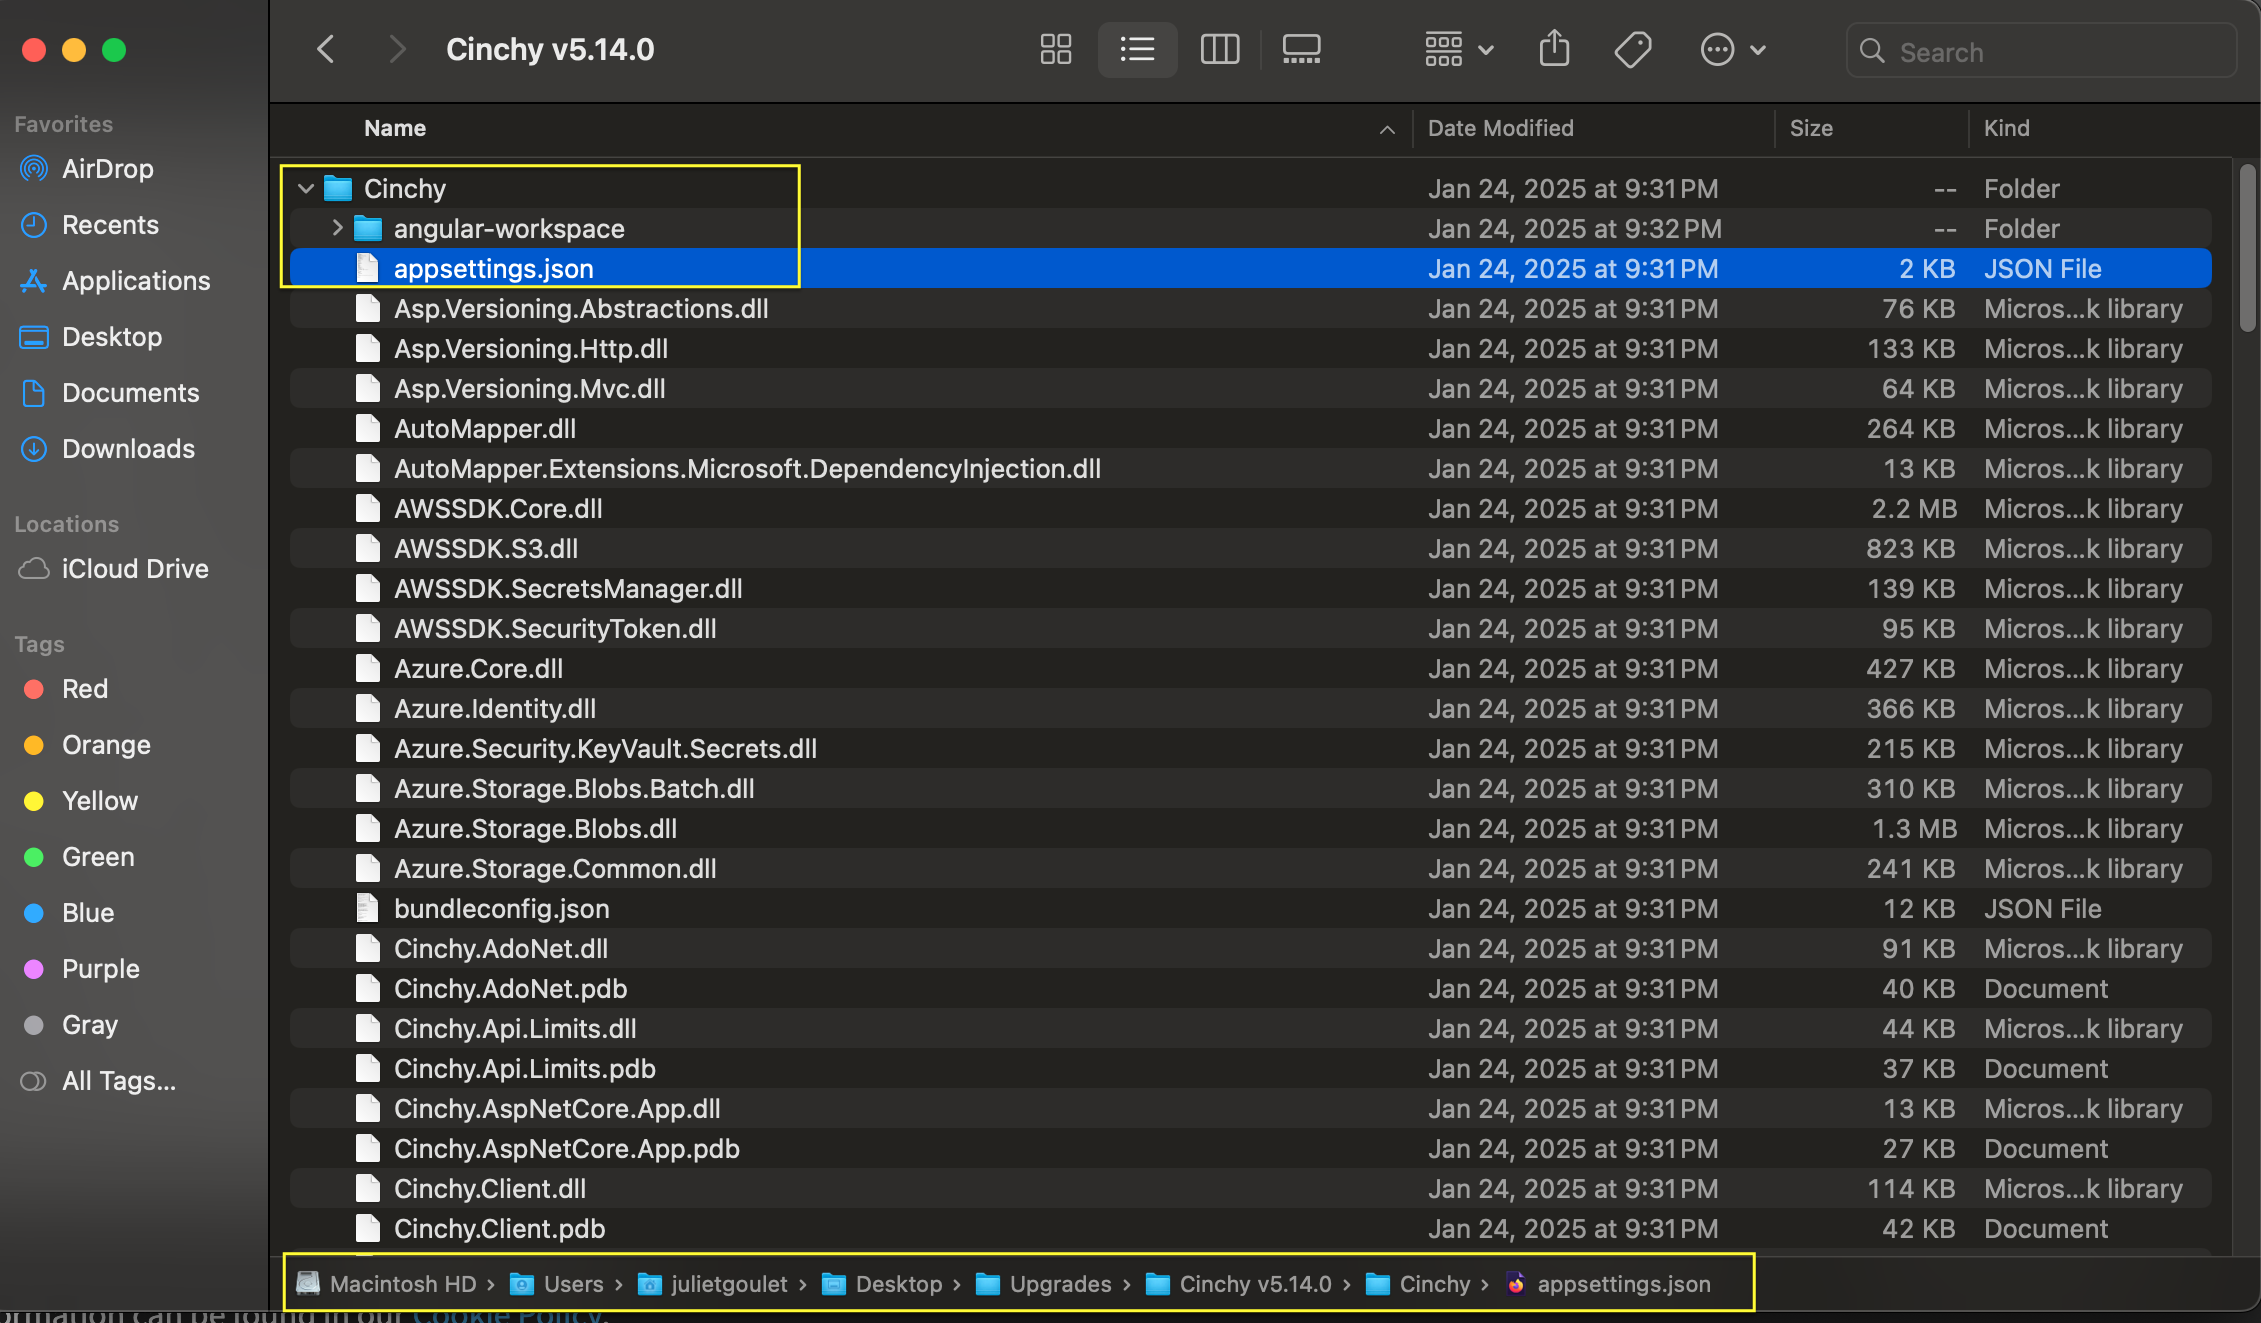
- Open the file in the text compare or merge utility tool of your choosing. (For example: VS Code.)
- Open the matching file from your current configuration files, for example
/Cinchy v5.20/Cinchy/appsettings.json, in the same text compare or merge utility tool. - Compare your old configuration to the new one, merging your settings into
/Cinchy v5.21.x/Cinchy/appsettings.json. For instructions on doing this with VS Code, click here.
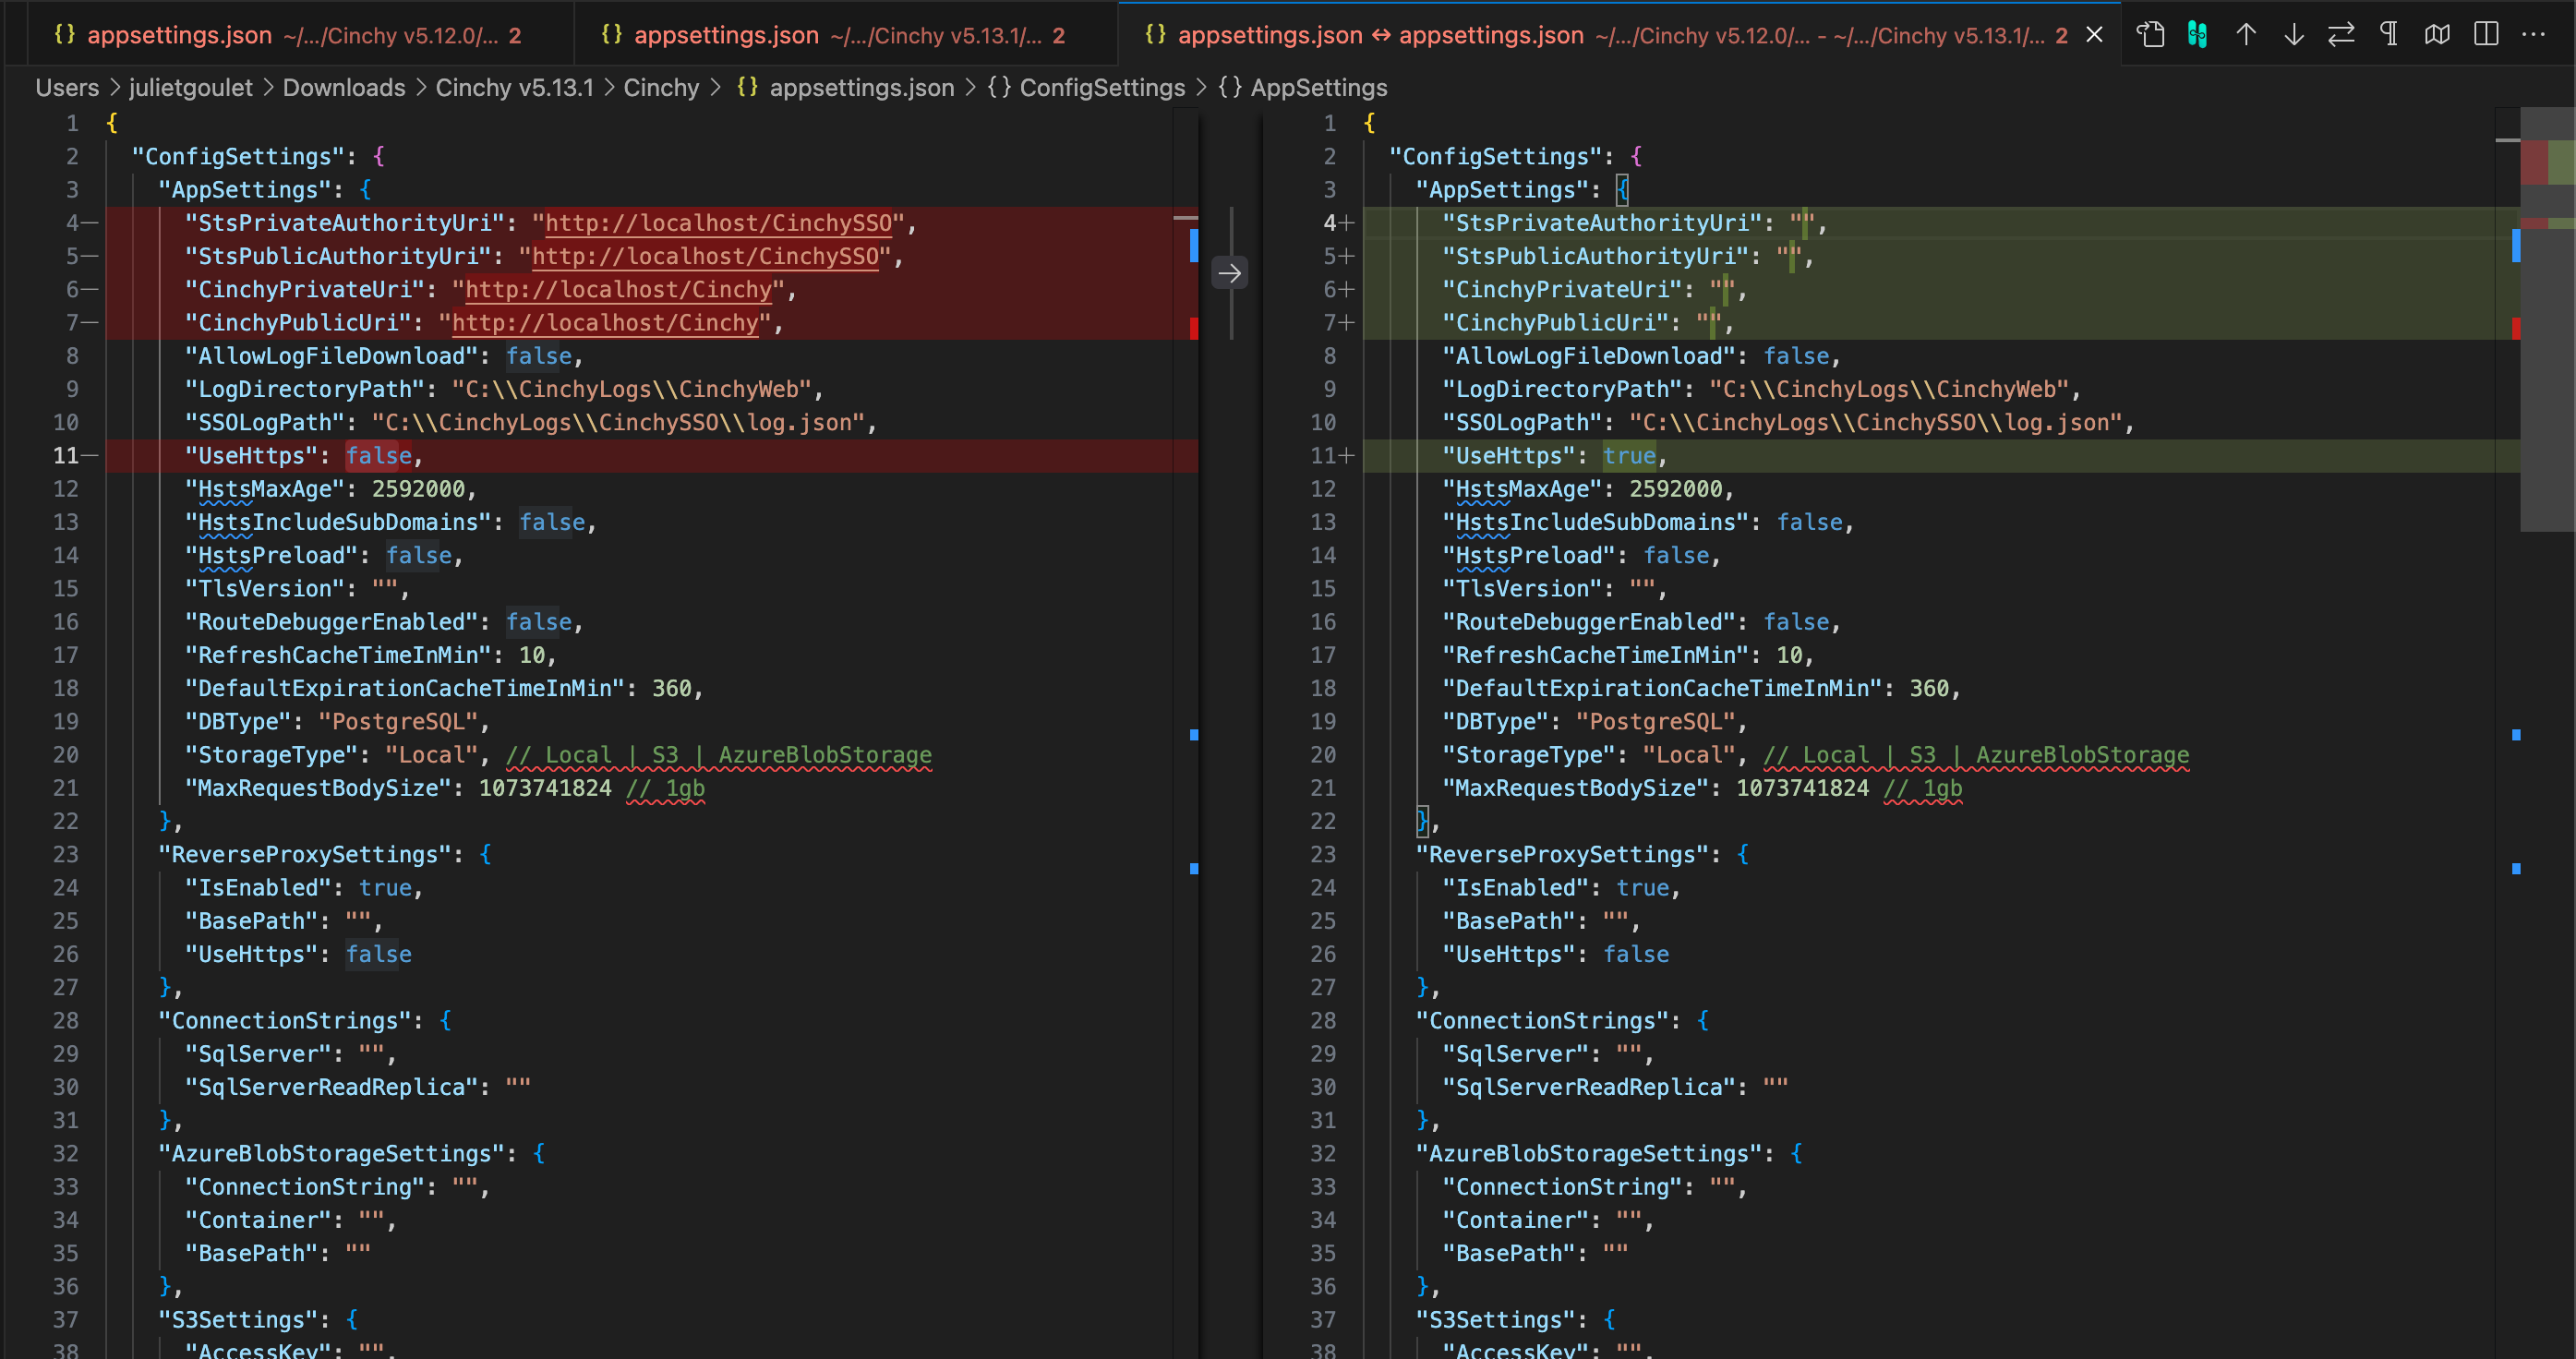
For example, in the below screenshot we have opened two files in VS Code to compare: /Cinchy v5.20/Cinchy/appsettings.json and /Cinchy v5.21.x/Cinchy/appsettings.json.
The utility tool identifies any differences between the two files and highlights them in red; in this case our config information. Using the right arrow that appears between the two configs, we can tell VS Code to merge the differences from the 5.20 file into the 5.21.x file. This prevents the manual re-entry of data.
Make sure to take note of any new section(s) that might appear in the 5.21.x config as well, inputting values as necessary.
After repeating this for all of the differences, save the /Cinchy v5.21.x/Cinchy/appsettings.json file.
-
Repeat this process for the following configuration files, comparing and merging your settings into the new files:
/Cinchy v5.21.x/Cinchy/web.config/Cinchy v5.21.x/CinchySSO/appsettings.json/Cinchy v5.21.x/CinchySSO/web.config/Cinchy Connections v5.21.x/CinchyConnectionsWebApi/ClientApp/dist/index.html. This step ensures that the Connections Experience will load. Pay particular attention that the base path matches./Cinchy v5.21.x/Mcp/appsettings.json(applies only if you have the Cinchy MCP Server deployed — introduced in v5.19. See MCP Deployment if you are deploying it for the first time.)/Cinchy v5.21.x/Notification/appsettings.json(applies only if you have the Cinchy Notification Service deployed — introduced in v5.20. See Email Notification Service Deployment if you are deploying it for the first time.)
-
If you are upgrading to v5.21.x and didn't do so in any previous updates, you are required to make some changes to various appsettings.json files. These changes are outlined in the following sections:
-
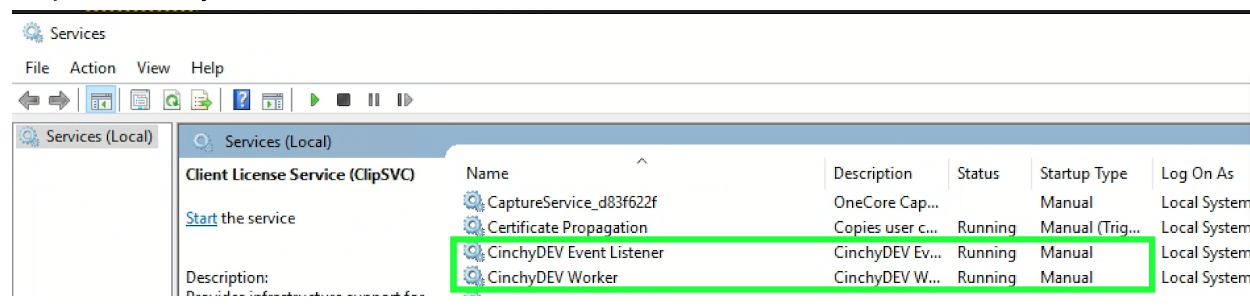
Navigate to your Connections Server. Stop the following services by clicking on them and then the square stop icon in the task bar:
- Cinchy Listener service.
- Cinchy Worker service.
-
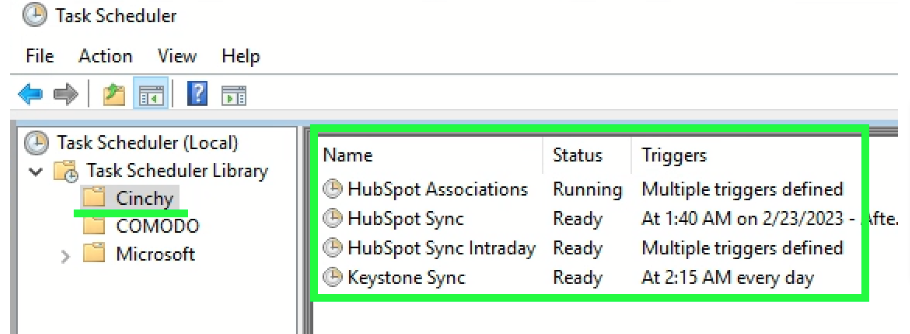
If there are any sync jobs scheduled in the Windows Task Scheduler:
- Make a note of which jobs are scheduled, as a backup.
- Disable the jobs.
-
As an administrator, open a command line/terminal and execute the following command:
iisreset -stop
- Navigate to your Database Server.
- Stop the SQL Server Cinchy Database by right-clicking it and selecting
Stop.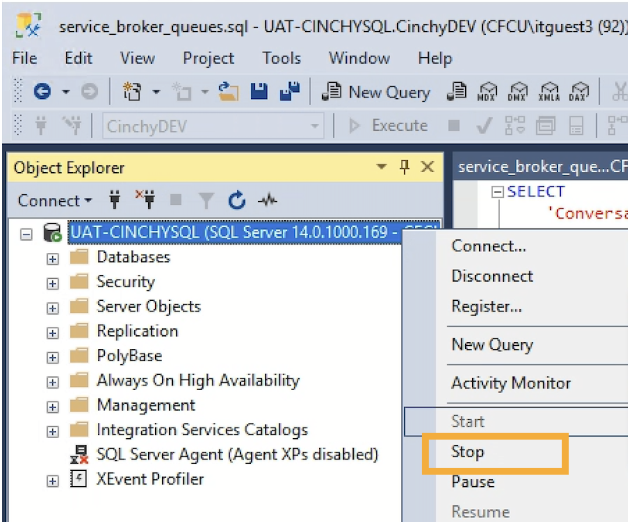
- Replace your current/old Cinchy and CinchySSO folders with the new 5.21.x folders, i.e.
/Cinchy v5.21.x/Cinchyand/Cinchy v5.21.x/CinchySSO.- If upgrading from a version prior to v5.19, also deploy the new Mcp folder as a web application under your Cinchy IIS site. See MCP Deployment for full instructions.
- If upgrading from a version prior to v5.20, also deploy the new Notification folder as a web application under your Cinchy IIS site. See Email Notification Service Deployment for full instructions.
- Start the SQL Server Cinchy Database by right-clicking it and selecting
Start. - As an administrator, open a command line/terminal and execute the following command:
iisreset -start
- Re-enable any jobs in the Task Scheduler.
- Double check and re-enable any CDCs that may have turned off during the upgrade.
- Navigate to your Connections Server. Start the following services by clicking on them and then the triangle start icon in the task bar:
- Cinchy Listener service.
- Cinchy Worker service.
- Open your Cinchy URL in your browser. On first start, the platform automatically applies the v5.21 model upgrade — no manual database changes are required.
- All users must log out and back in to your Cinchy environment in order for the changes to properly take effect.
Event Listener Service Change
The following needs to be done only if you did not do so in a previous upgrade.
When upgrading Cinchy Event Listener from v5.9 (or lower) to v5.10+, note that the service name has changed. To ensure this change is properly reflected in the Windows Service, you need to follow these steps:
- Open a PowerShell 5.1 terminal within the CinchyEventListener deployment directory.
- Run the PowerShell file
remove-cinchy-event-listener-windows-service.ps1. - After removing the service, run the PowerShell file
create-cinchy-event-listener-windows-service.ps1 "path to CinchyEventListener".
If your Cinchy Event Listener is using a trusted connection, remember to update these details for the CinchyENV Event Listener service in the Services.msc control panel.
Support
If you encounter an error during this process, restore your database backup and contact Cinchy Support.